| Posted By |
Discussion Topic:
The Exterior Paint Work is Almost Done...
-- page:
1
2
3
4
5
6
7
8
9
|


|
 RAK402
 |
 10-11-2022 @ 8:37 PM
|
|
|
|
Member
Posts: 430
Joined: Jul 2015
|
Still at it on the 1940 Ford upholstery. Took the Front Seat assembly apart today.
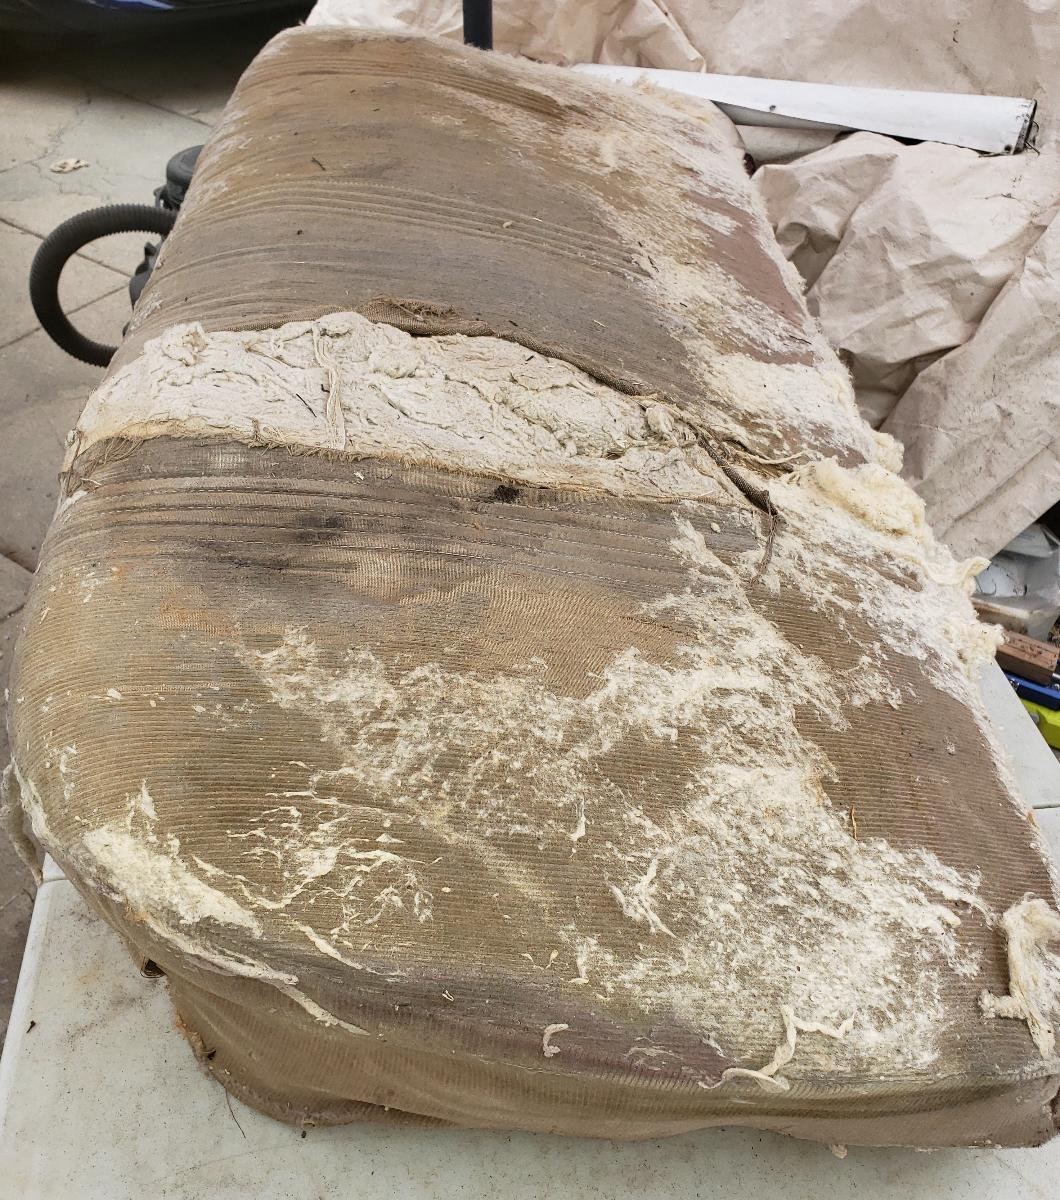
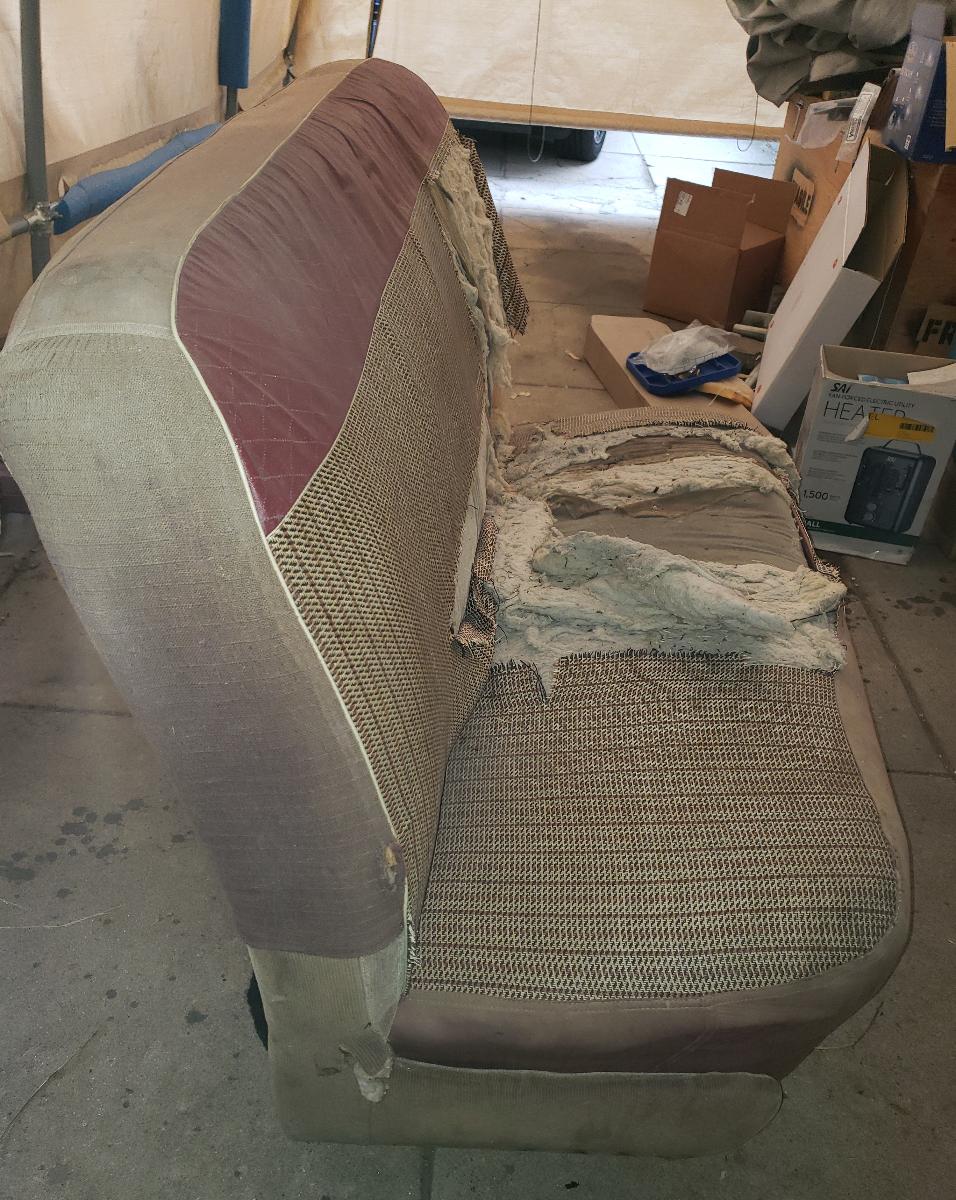
Both the seat covers I installed in the 1970's and the original upholstery were in very sad shape.
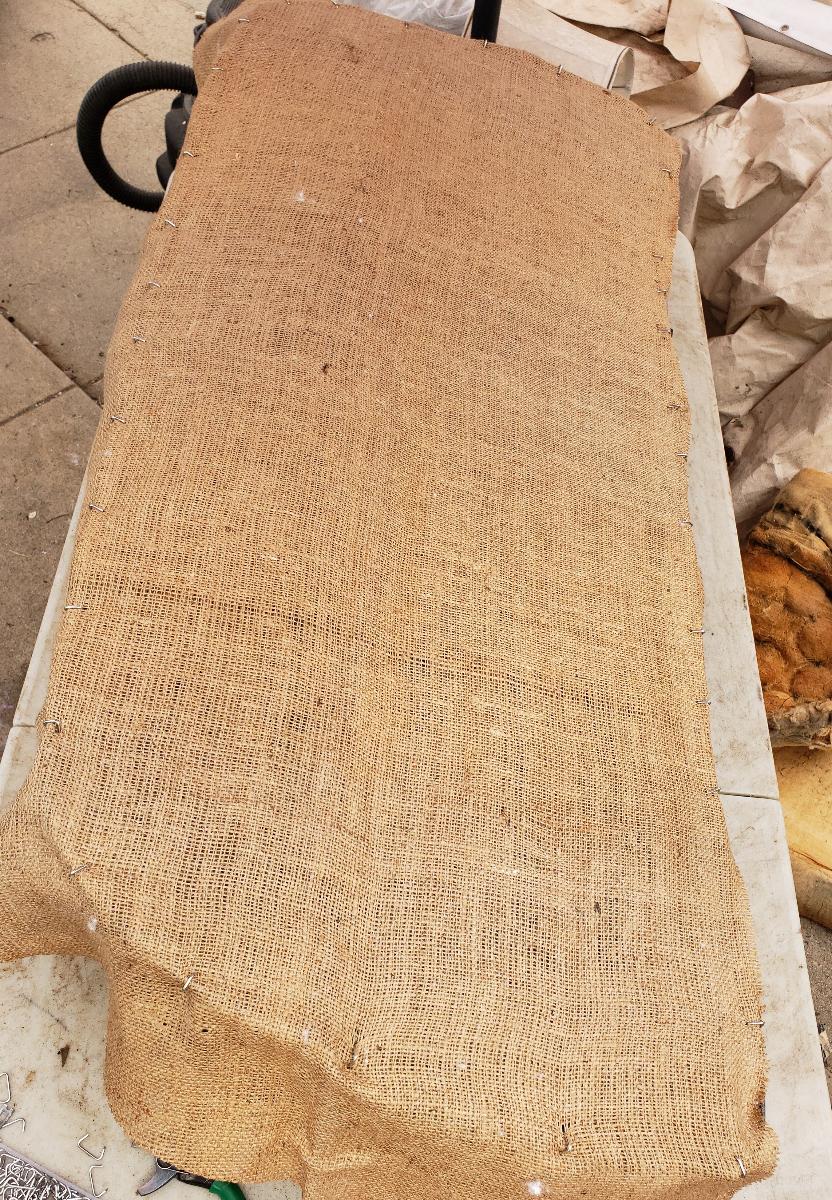
The front seat cushion had felt like it was collapsing over the years, but once uncovered, all of the springs were intact. There were some hog rings (that are supposed to align the springs) missing. Once those were replaced the seat springs felt very even and much firmer.
The original upholstery had a thick pad of something resembling straw directly over the springs, then some thick cotton batting with something resembling gauze over the top (all the seats were this way).
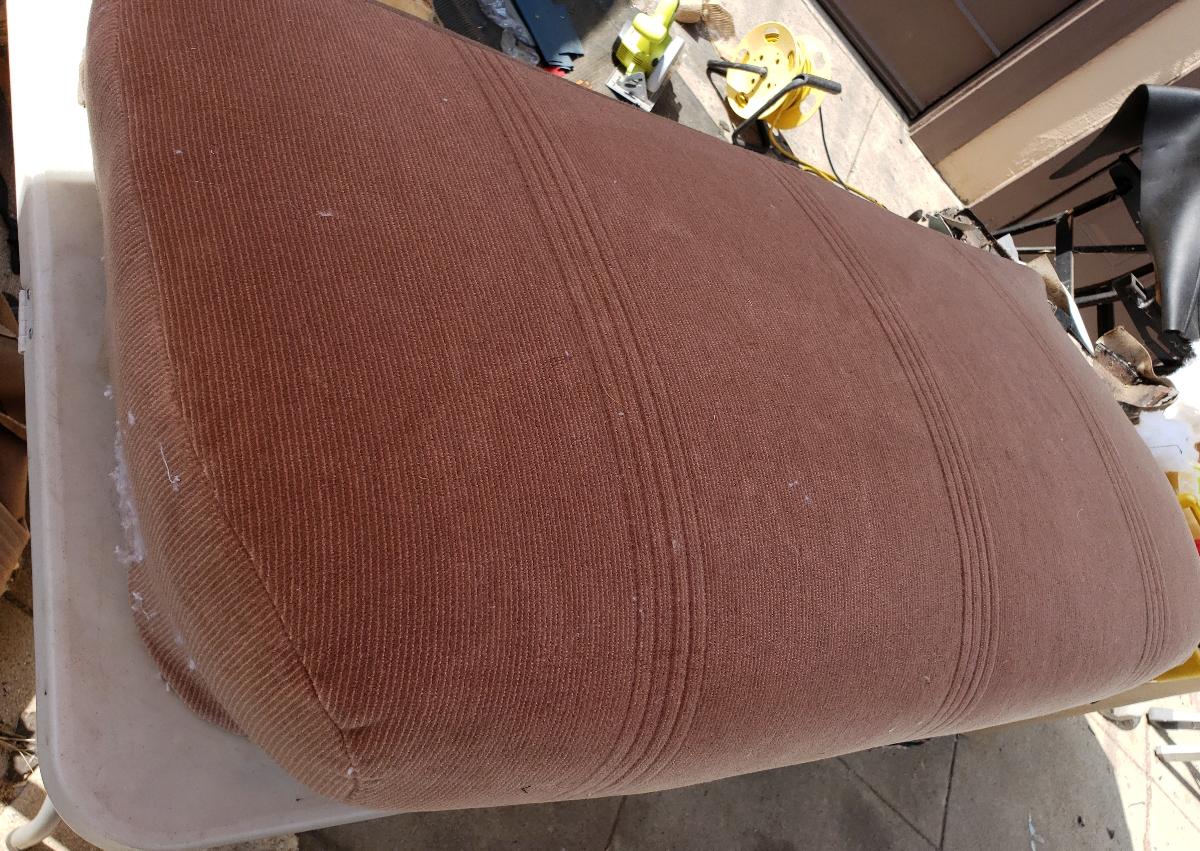
So far, this was the most difficult of the seat cushions to cover (the LeBaron Bonney covers were extremely tight around the base of the seat). From wah I have read, the Front Seat Backrest will be much more difficult (we will find out).
Below are photos of the seat prior to being taken apart, then the seat cushion with new burlap, then the finished/covered seat cushion.
The backrest is next, but the welds for the upper braces of the side shields are broken, so those will have to be repaired first.
|
 trjford8
 |
 10-12-2022 @ 7:53 AM
|
|
|
|
Senior
Posts: 4202
Joined: Oct 2009
|
The "gauze" you found is probably muslin which makes it easier to move the cover to adjust before securing it to the bottom rim of the seat cushion. For your back rests, I suggest once the padding has been installed you can cover the padding (I also use muslin on them too) with a thin plastic garbage bag. The outside cover will slip easily over and down on the backrest. You can then reach inside the cover and pull out the bag. It tears easy and will come out in pieces. So far you are doing an excellent job.
This message was edited by trjford8 on 10-12-22 @ 7:54 AM
|
 RAK402
 |
 10-12-2022 @ 1:02 PM
|
|
|
|
Member
Posts: 430
Joined: Jul 2015
|
Thank you to 1940 Tom and Kubes40 for the assistance with the location of the Package Tray Welt-it was extremely helpful!
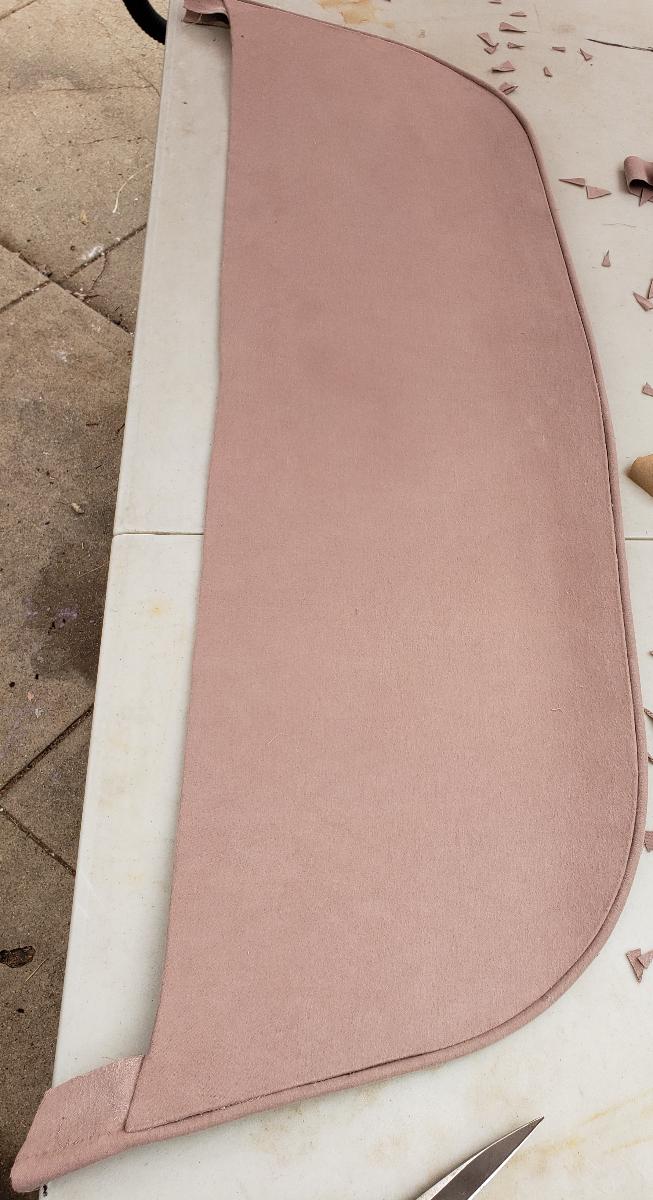
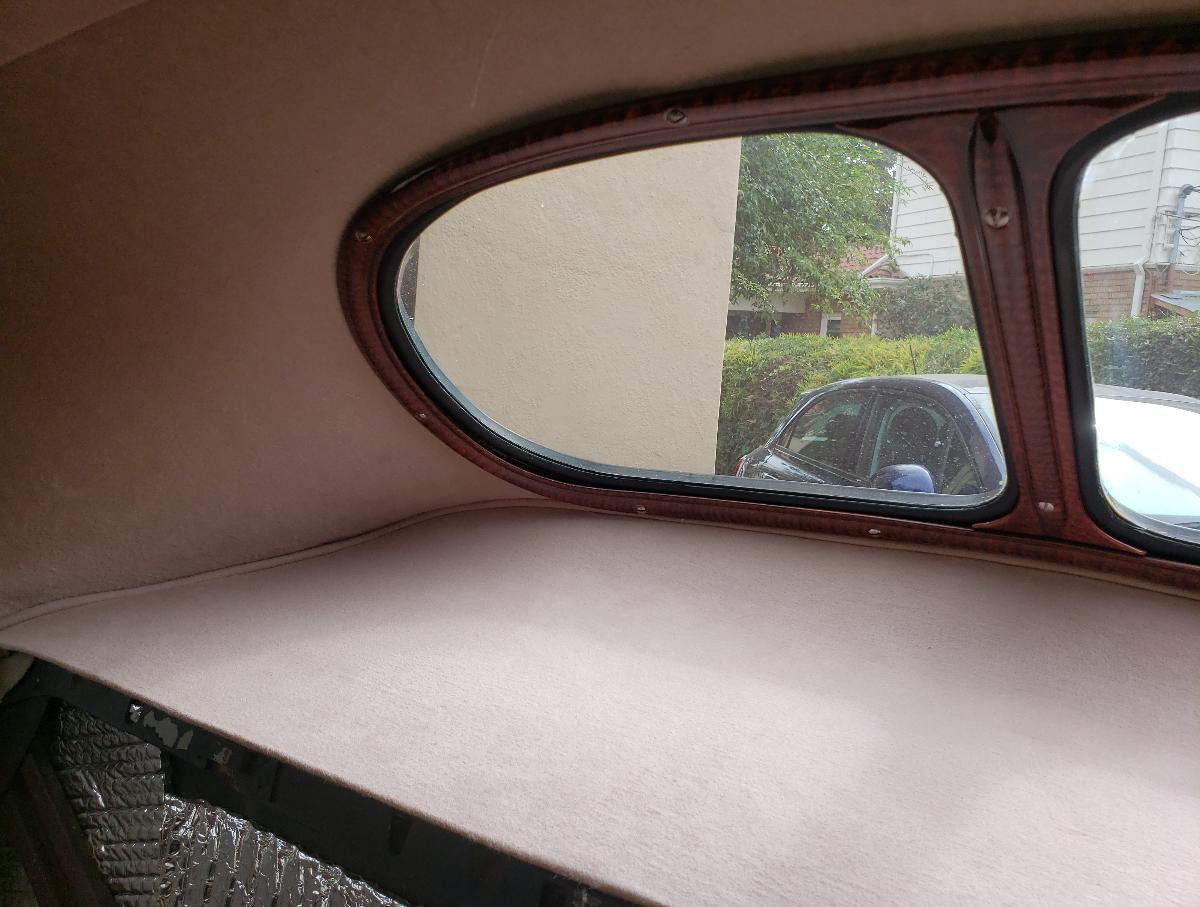
Photos below are of the recovered Package Tray with Welt-Ready for Installation and Installed.
I also want to publicly thank Dave Trank of Cartouche Upholstery for finding very, very close matches for the fabric on the Package Tray and the Side Pillar Cover. He really went out of his way match these fabrics from samples that he had me send to him (from my 20 year old LeBaron Bonney Upholstery kit).
He also made the welt for the tray for me. He is very, very decent to work with, is very knowledgeable, and responds very rapidly.
I got the Rear Seat Belts installed also, and will be wrestling the Rear Sear Back Rest into place this afternoon (hopefully).
This message was edited by RAK402 on 10-12-22 @ 1:04 PM
|
 RAK402
 |
 10-12-2022 @ 5:33 PM
|
|
|
|
Member
Posts: 430
Joined: Jul 2015
|
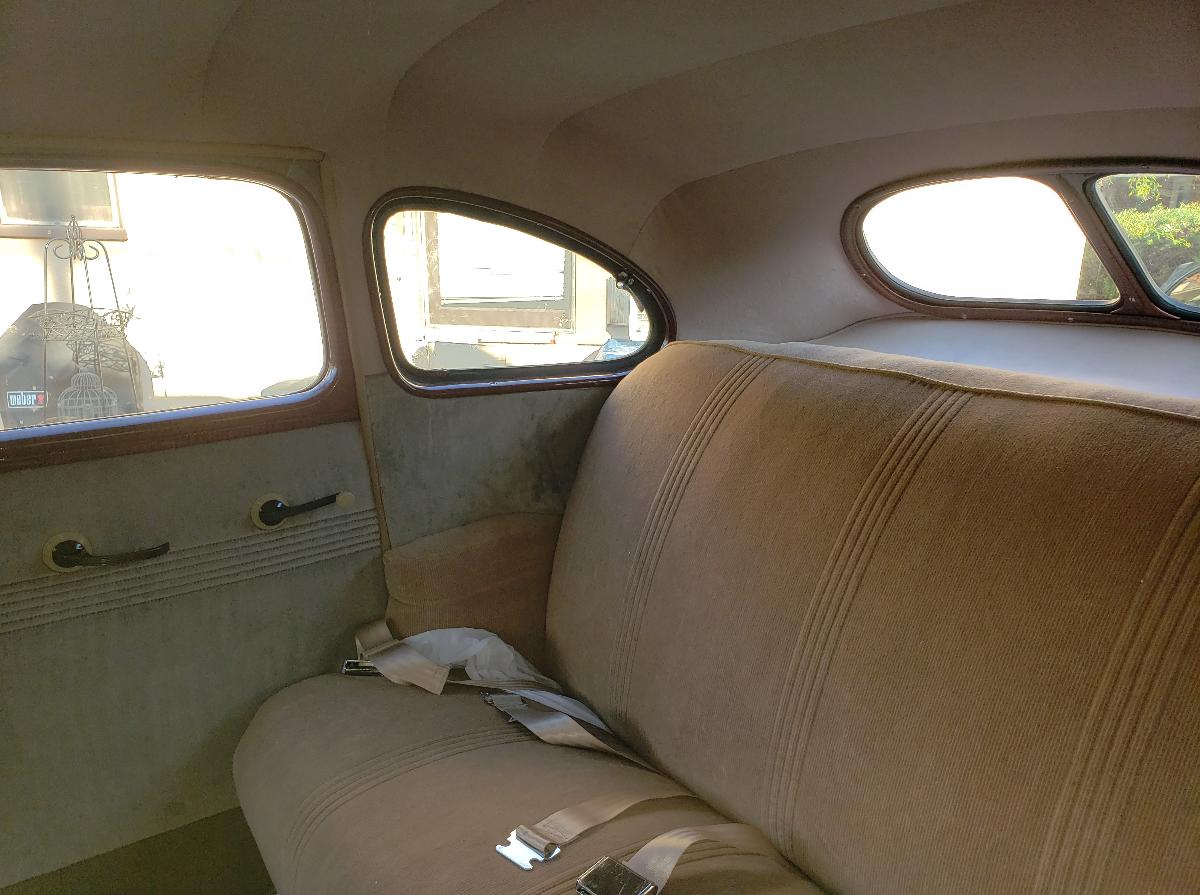
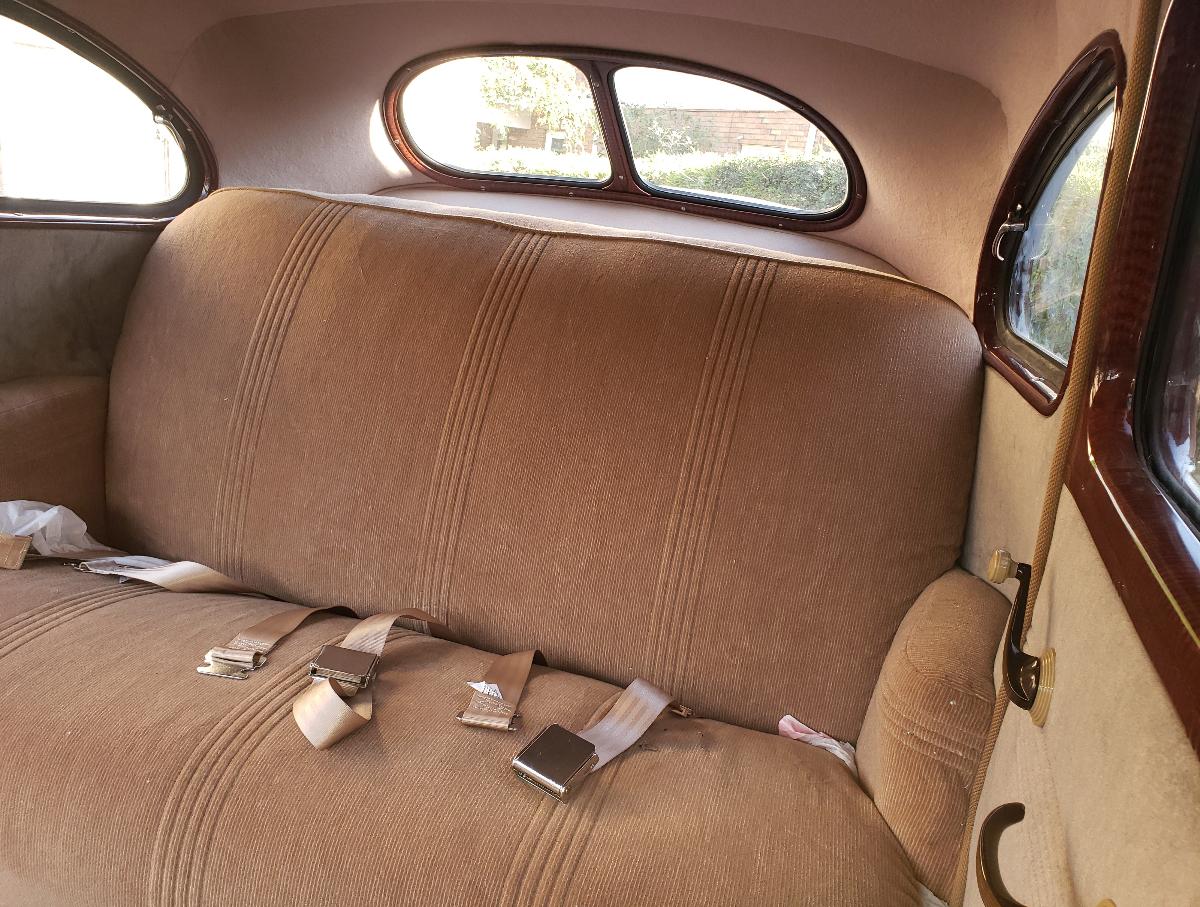
The end of a very long day on the 1940 Ford...
Installed Seat Belts (another promise to my father long ago).
Installed the Back Rest.
Installed the curved metal panels at the ends of the seat riser.
Installed the strip of carpet on the seat riser.
Got the back seat in but lacked the energy to snap it in place...
Plastic bags were a suggestion from trjford8. He suggested it for pulling the upholstery down onto the front seat back (which I will definitely do), but I used it here to reduce friction when sliding the upholstery in-it helped a very great deal.
This message was edited by RAK402 on 10-12-22 @ 5:34 PM
|
 RAK402
 |
 10-13-2022 @ 11:35 PM
|
|
|
|
Member
Posts: 430
Joined: Jul 2015
|
I hope I am in the home stretch on the 1940 Ford Fordor Deluxe...
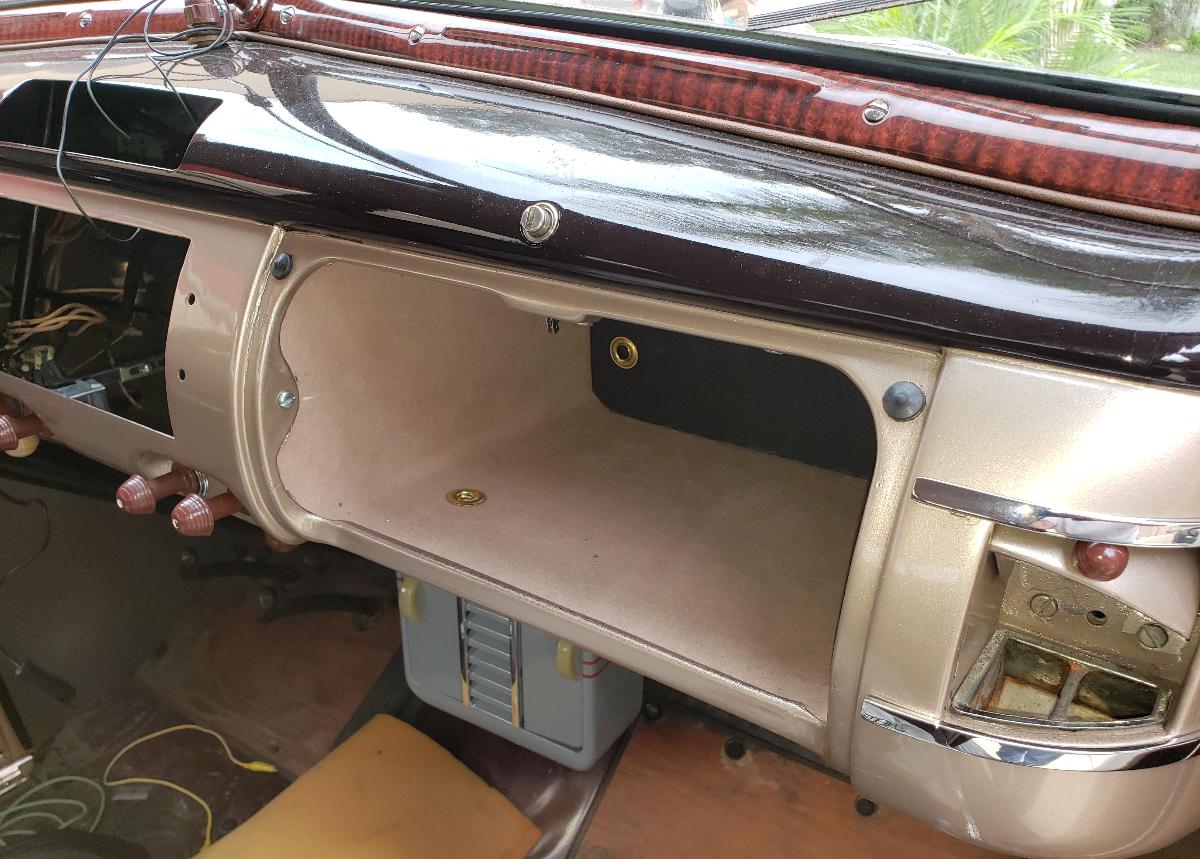
I removed the back from the repro glove box, covered the inside with headliner material, and installed a brass grommet in it for the clock wire.
I then installed the glove box door (I had already installed the Chrome Trim Strips on it.
I had to repair the Clock Wire, then installed and connected it.
The radio was test fitted and the rubber gasket for the speaker was tack-glued on with it installed (I wasn't sure where to mount if vertically). The radio was then removed and the gasket permanently attached with contact cement.
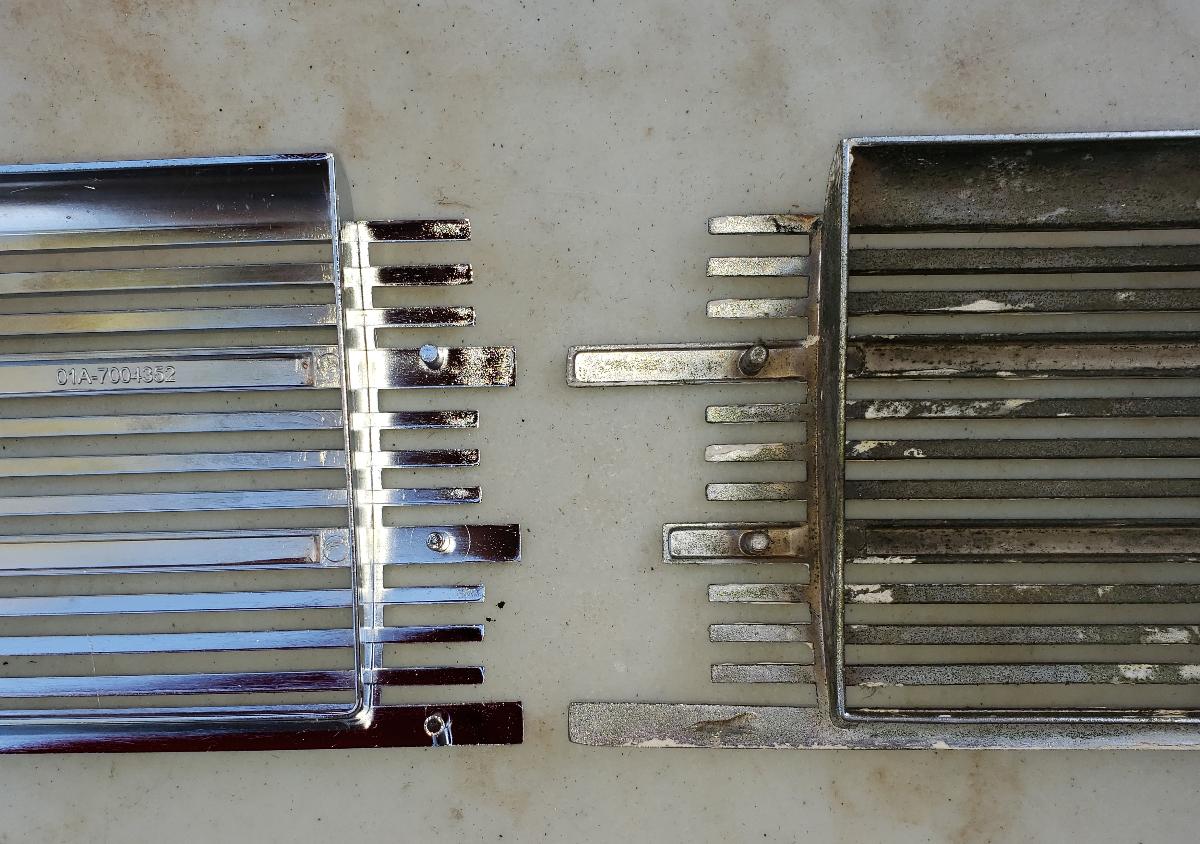
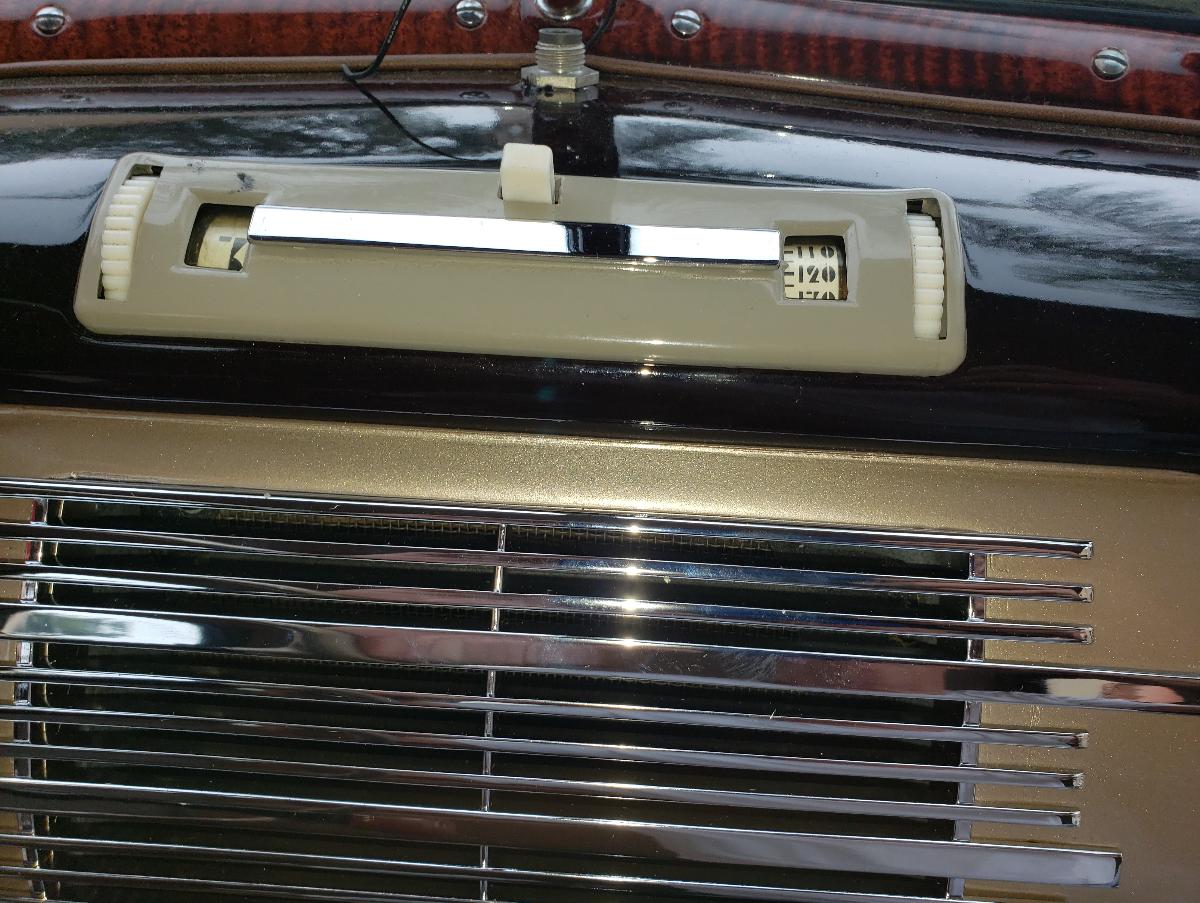
When I went to install the new Radio Grill, I found that it had six mounting posts instead of the stock four-there are only four mounting holes in the dashboard, so the two "extra" posts were cut off and the area where they had been was ground flat. The photo below shows the original Ford Radio Grille and the repro from the back (showing the additional post).
The Radio Grille was then installed.
|
 RAK402
 |
 10-14-2022 @ 7:49 PM
|
|
|
|
Member
Posts: 430
Joined: Jul 2015
|
Another long day on the 1940 Ford (having a lot of those lately)...
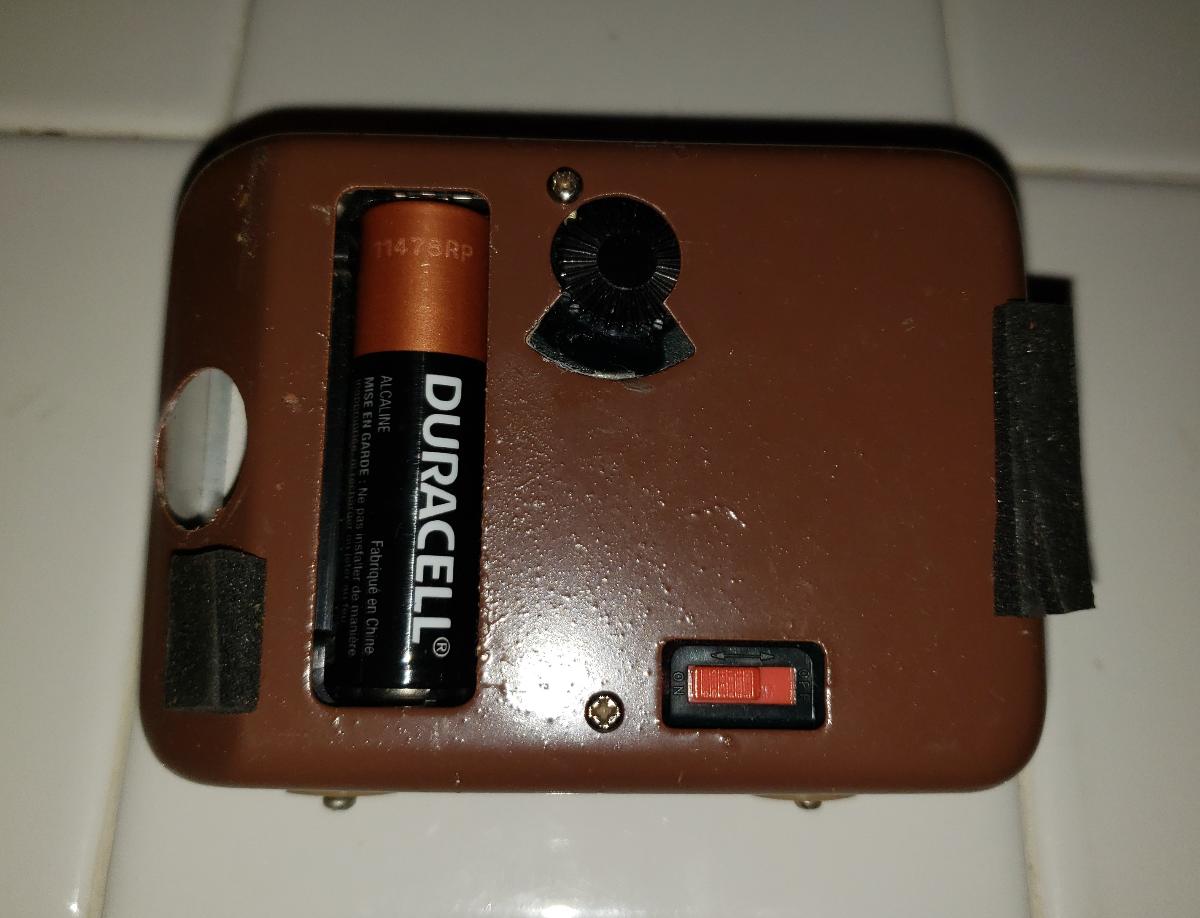
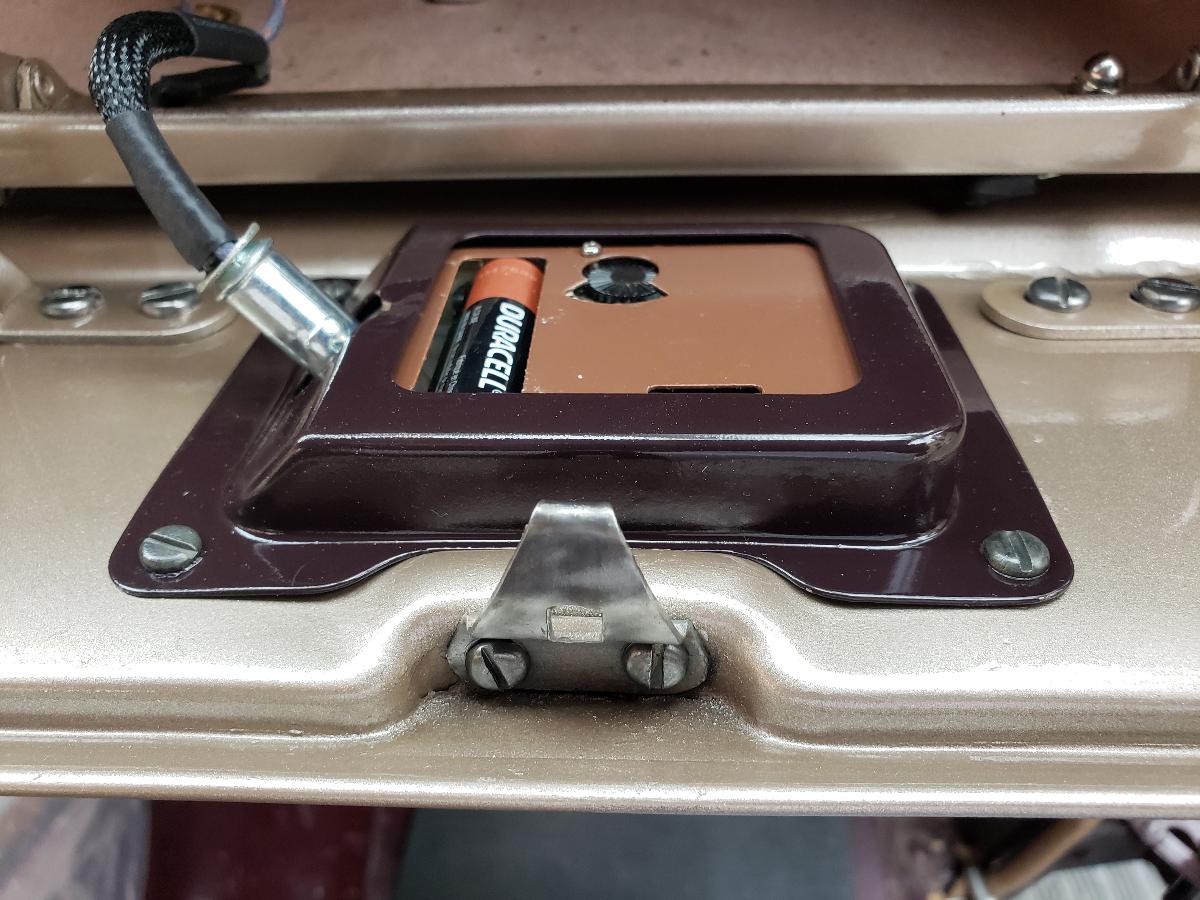
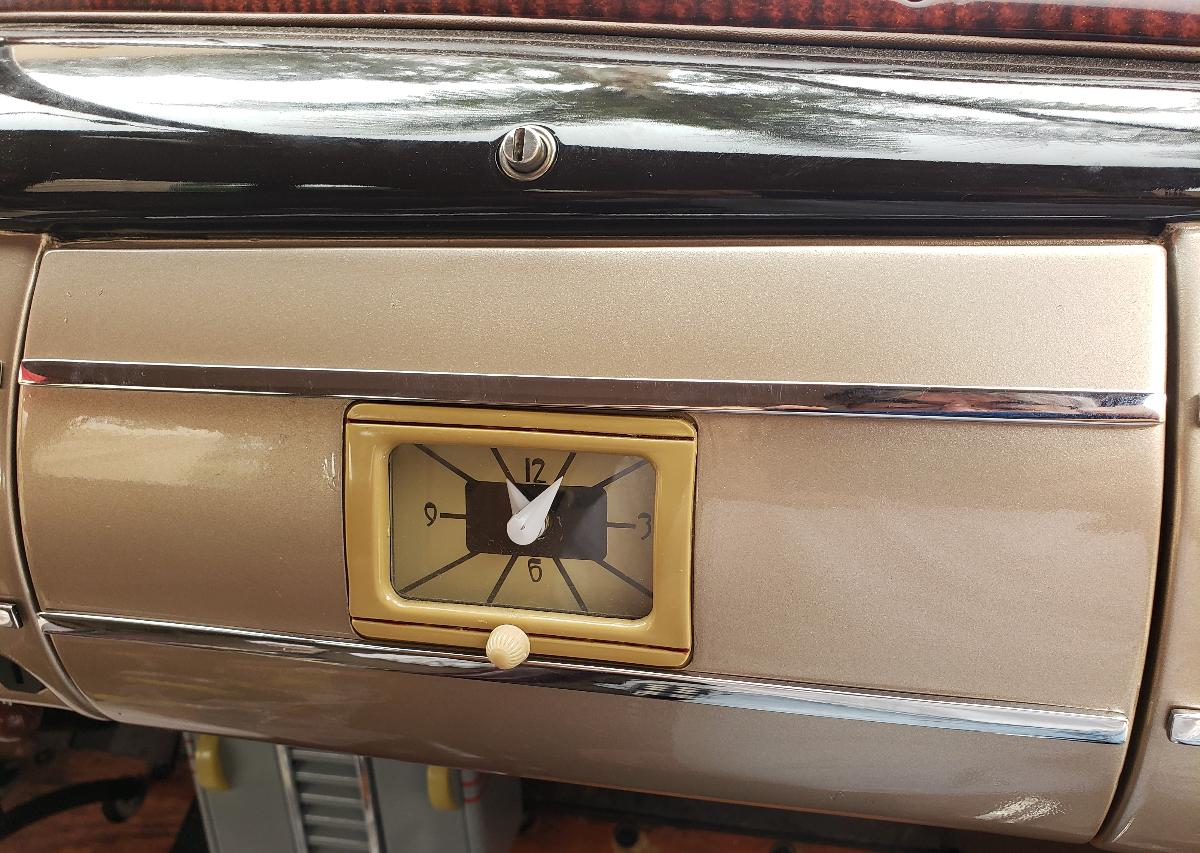
Started out by installing the clock. The clock is not stock (I do still have the stock clock). I found this one in C.W. Moss about 20 years ago-it has a quartz crystal mechanism substituted for the original hand wound one.
I re-painted the bracket that retains the clock "Briarwood Brown" which I think is the correct color for it-my lovely wife said the paint was a perfect match for the paint on the inside of the bracket. In looking at the photographs tonight, I realize I made a big error-I need to take the clock out again, take it apart, and paint the back the correct color to match the bracket).
In installing the clock, I noticed that I had left the glove box door striker plate installed while it was being painted. In looking for information on the clock in the book "It's Ford for Forty." I realized that the striker plate should not be painted. I took it off and removed the paint. When the bracket was off, I found original Rose Sand Metallic paint underneath. Mike Kubarth did an outstanding job of matching the original Dashboard Paint!
The striker plate was then re-installed and the glove box is now finished.
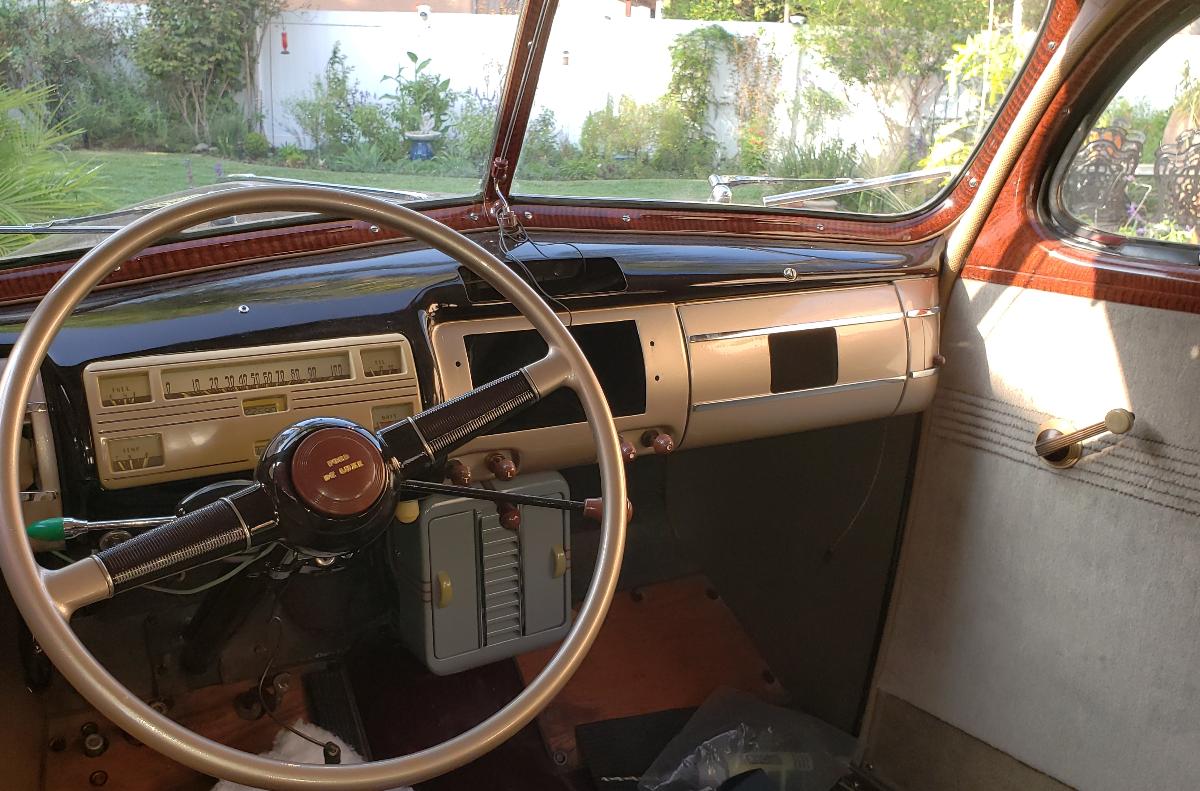
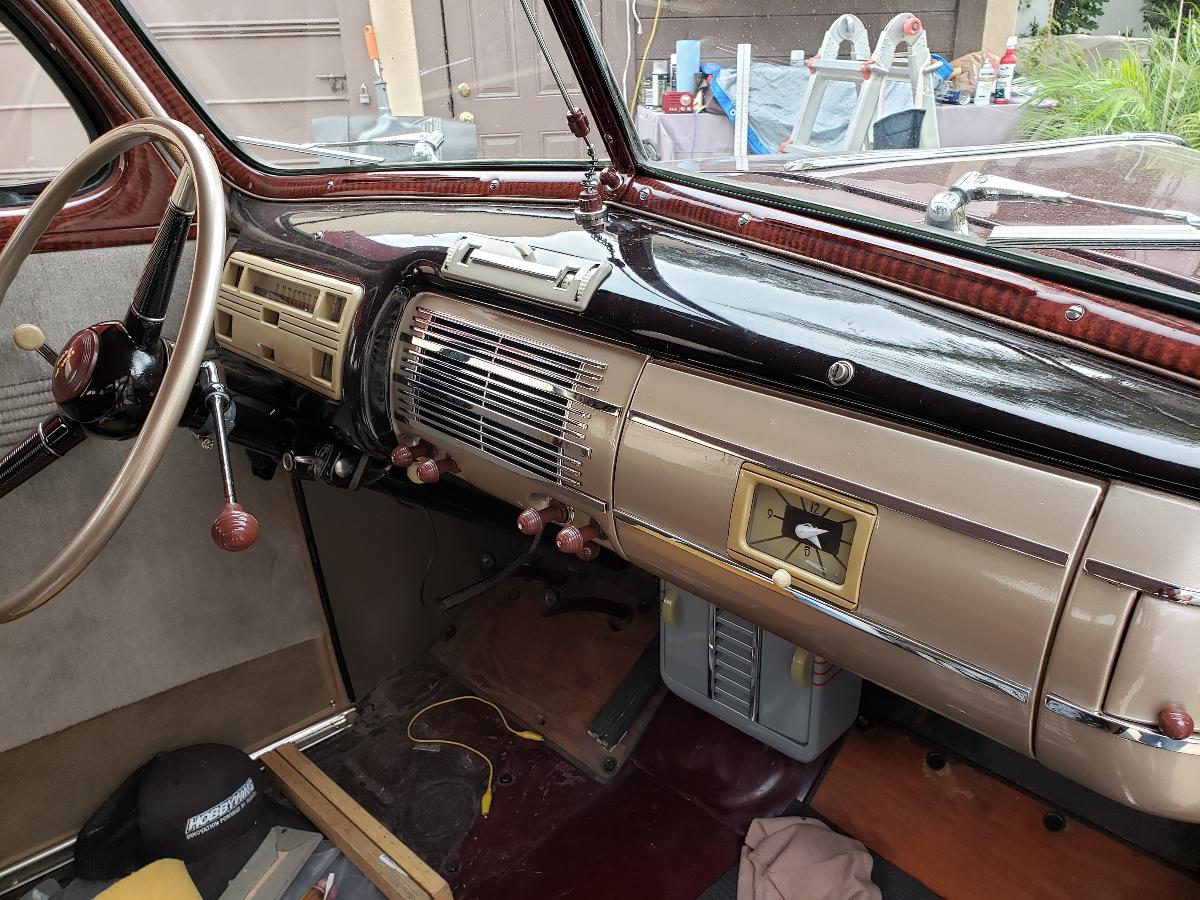
The stock Philco radio was next.
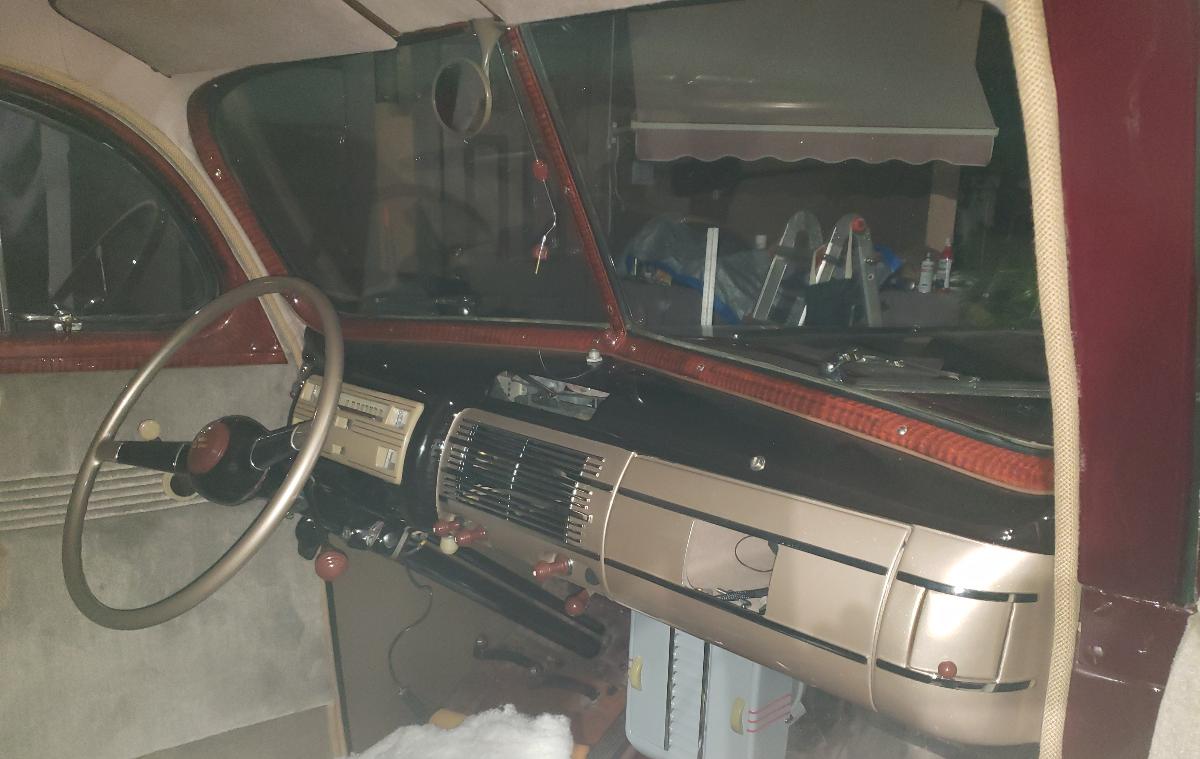
The dashboard area is now complete.
This message was edited by RAK402 on 10-15-22 @ 1:28 PM
|
 RAK402
 |
 10-15-2022 @ 1:38 PM
|
|
|
|
Member
Posts: 430
Joined: Jul 2015
|
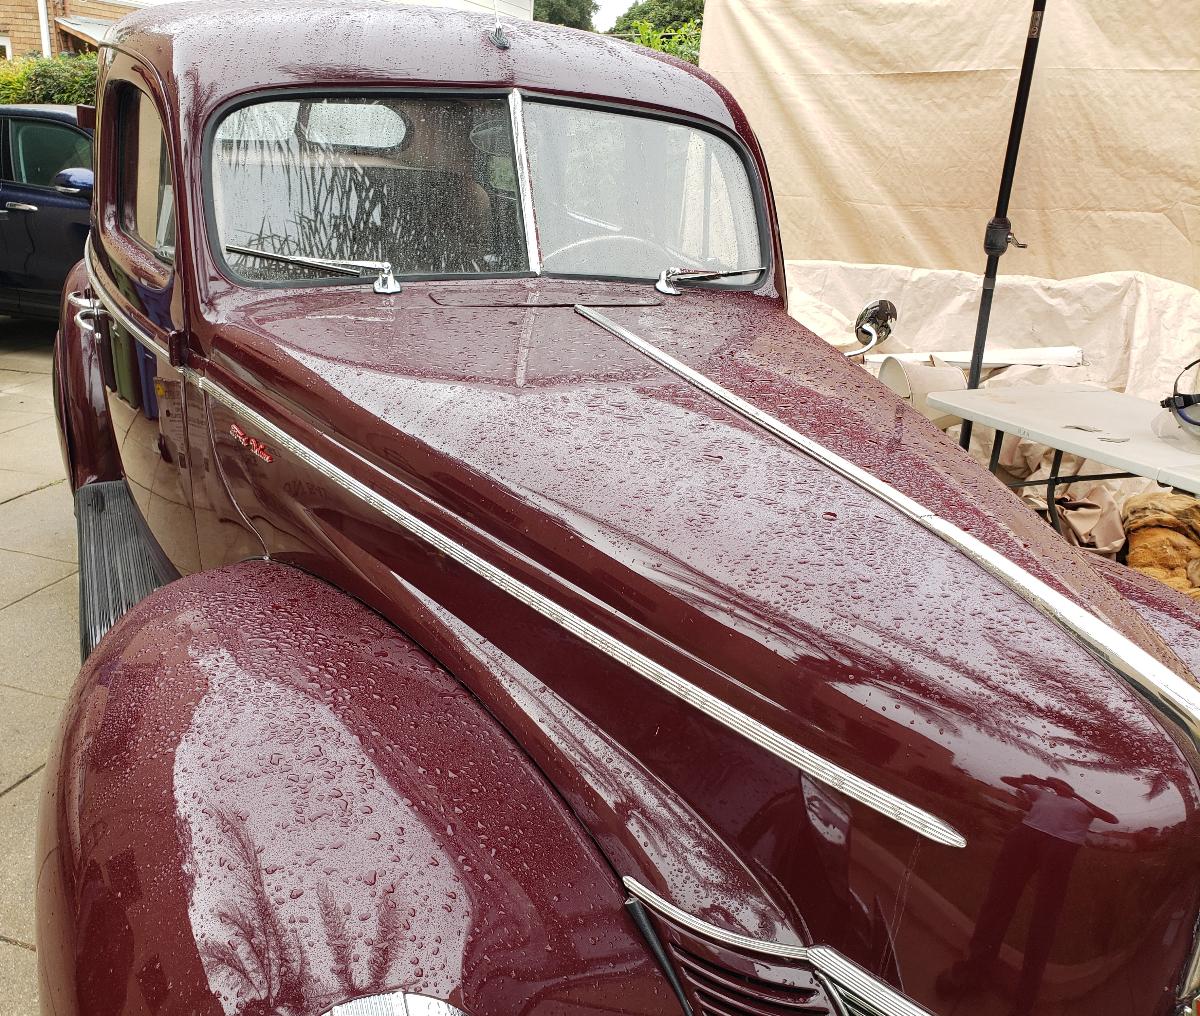
It rained again last night, so the Ford got wet again. My goal was to finish before the rains came-I didn't make it.
Short day today...
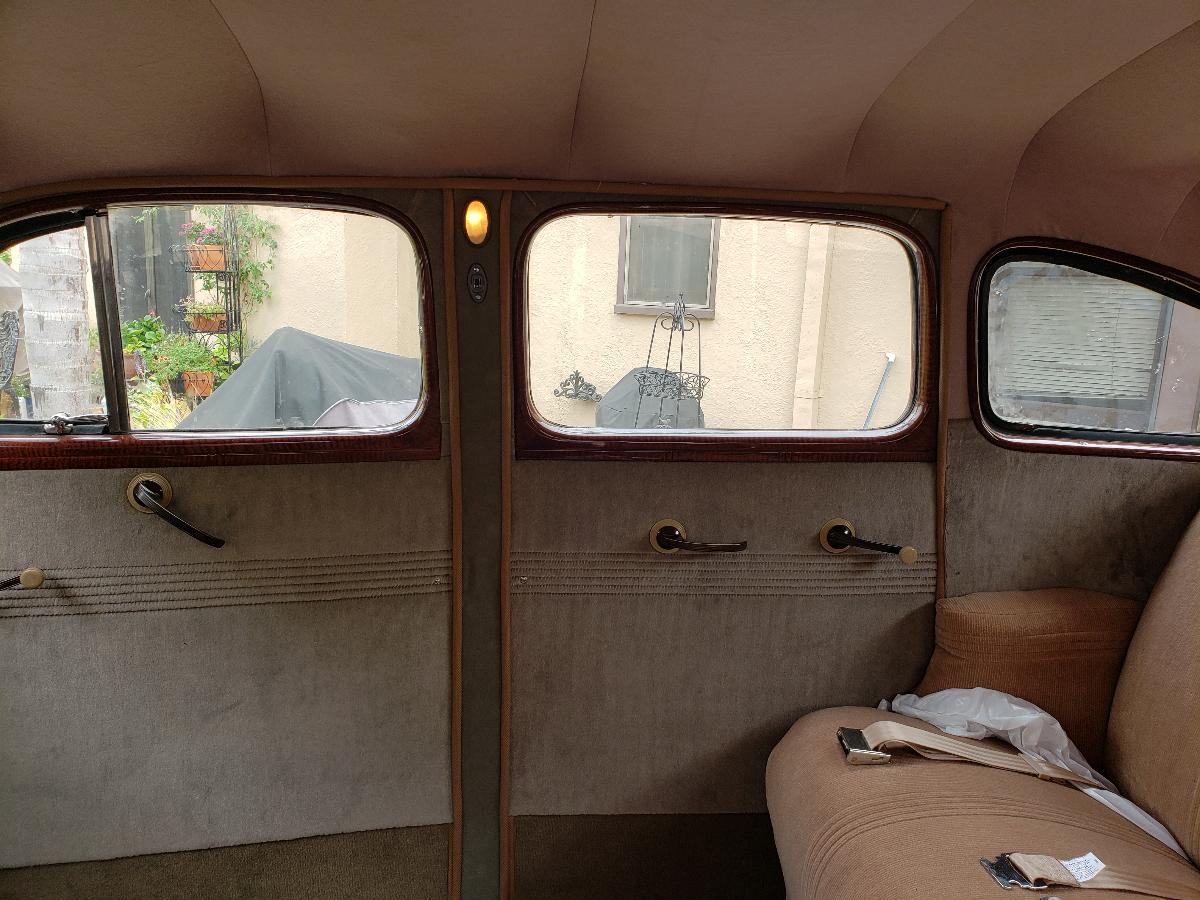
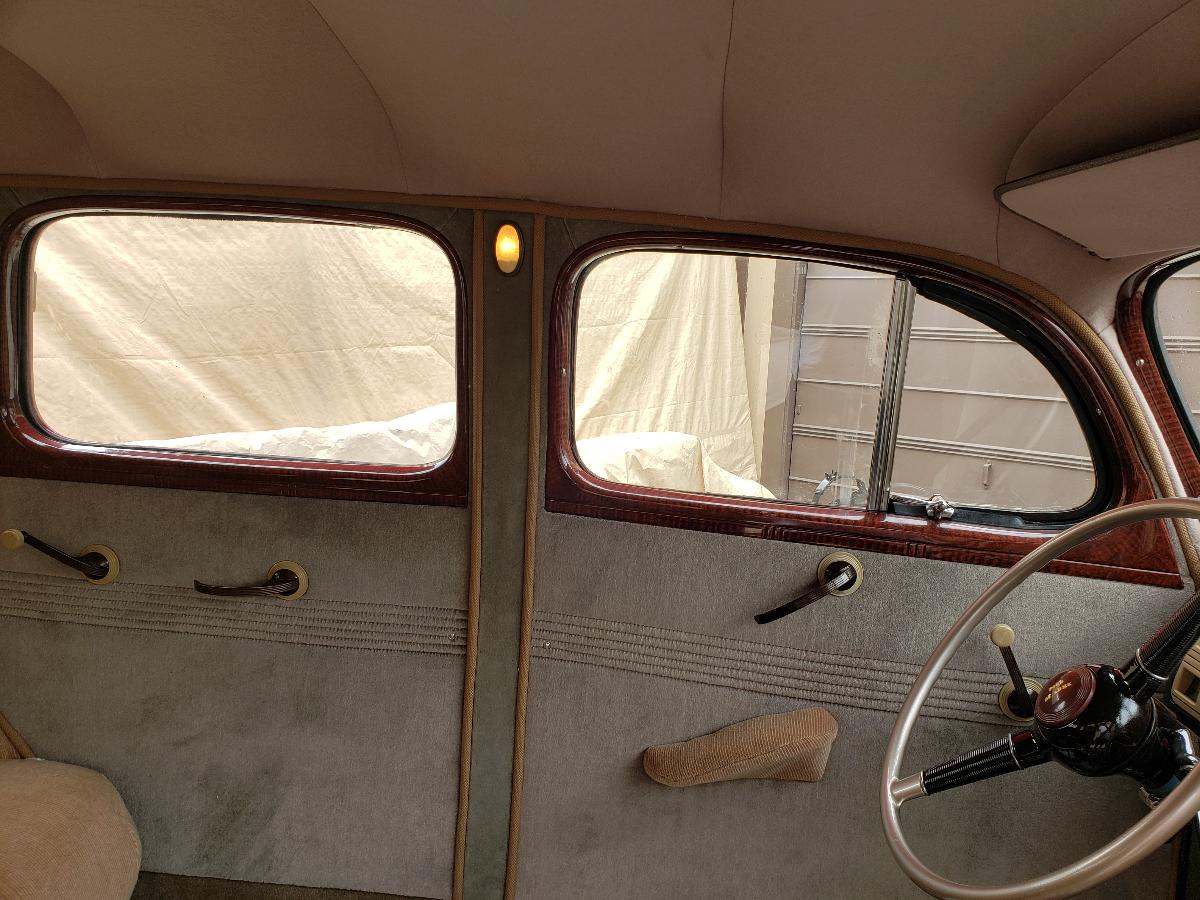
Finished Pillar Cover installation on both sides of car, tested courtesy lamps.
Upholstery is done except for the front seat (which has to go to the welder this week).
This message was edited by RAK402 on 10-15-22 @ 1:39 PM
|
 kubes40
 |
 10-15-2022 @ 3:05 PM
|
|
|
|
Senior
Posts: 3368
Joined: Oct 2009
|
You may know this "trick" but just in case you don't. The front seat cushion: I make small rolls of the modern rubberized carpet padding and shove them in each and every coil of the cushion.
This, above anything else I'd ever attempted, will restore the comfort of the seat.
Kind of a pain in the butt to do but well worth the effort in my opinion.
Each of my restorations received this operation.
Mike "Kube" Kubarth
|
 RAK402
 |
 10-16-2022 @ 9:15 AM
|
|
|
|
Member
Posts: 430
Joined: Jul 2015
|
Thanks Mike-I never new that.
I have already covered the seat cushion for the front, but I suppose I could slit the burlap covering the springs from the bottom, put some in carpet padding foam in, and recover each coil separately?
|
 carcrazy
 |
 10-16-2022 @ 10:03 AM
|
|
|
|
Senior
Posts: 1584
Joined: Oct 2009
|
RAK, You are an inspiration to those of us with long-dormant unfinished projects.
|

 Reply to Discussion


 RAK402