| Posted By |
Discussion Topic:
The Exterior Paint Work is Almost Done...
-- page:
1
2
3
4
5
6
7
8
9
|


|
 RAK402
 |
 10-01-2022 @ 5:50 PM
|
|
|
|
Member
Posts: 430
Joined: Jul 2015
|
Still working on the 1940 Ford almost every day-today was no exception...
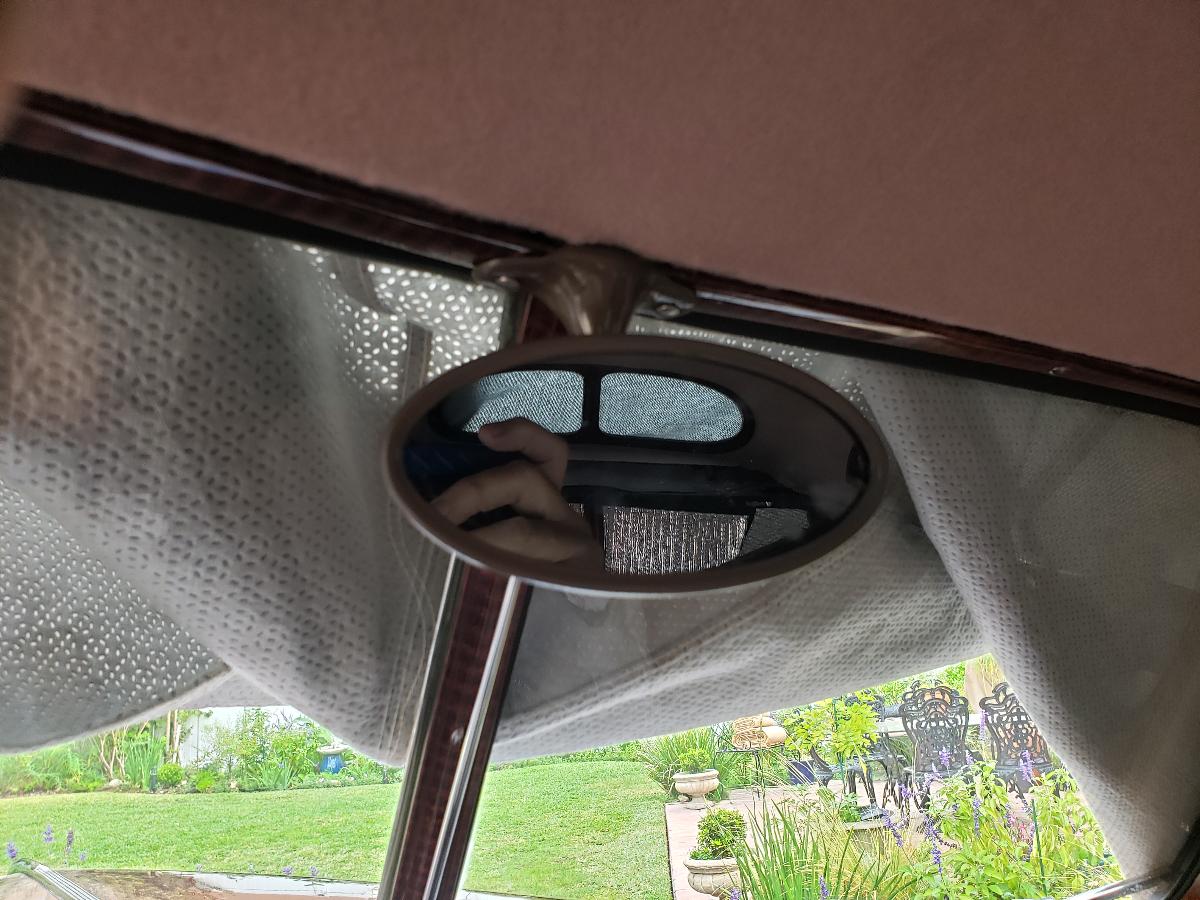
Rear View Mirror installed (with two screws for the first time ever-Ford did not drill the hole for the right side screw at the factory).
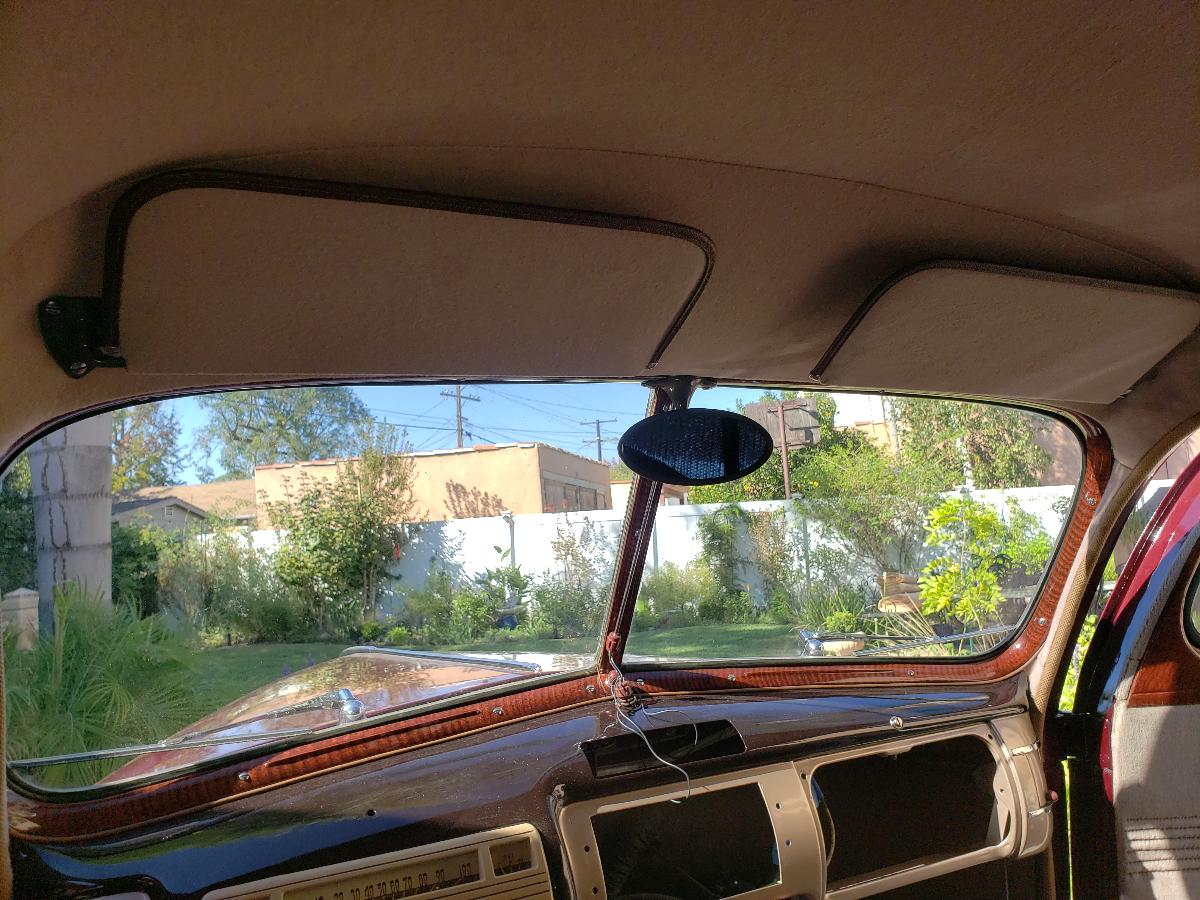
Sun Visors installed as well. It was pretty nerve wracking cutting holes in the new headliner for the screws and the rectangular part of the back of the brackets which house the bent-up ends of the rods and the springs.
|
 RAK402
 |
 10-02-2022 @ 7:35 PM
|
|
|
|
Member
Posts: 430
Joined: Jul 2015
|
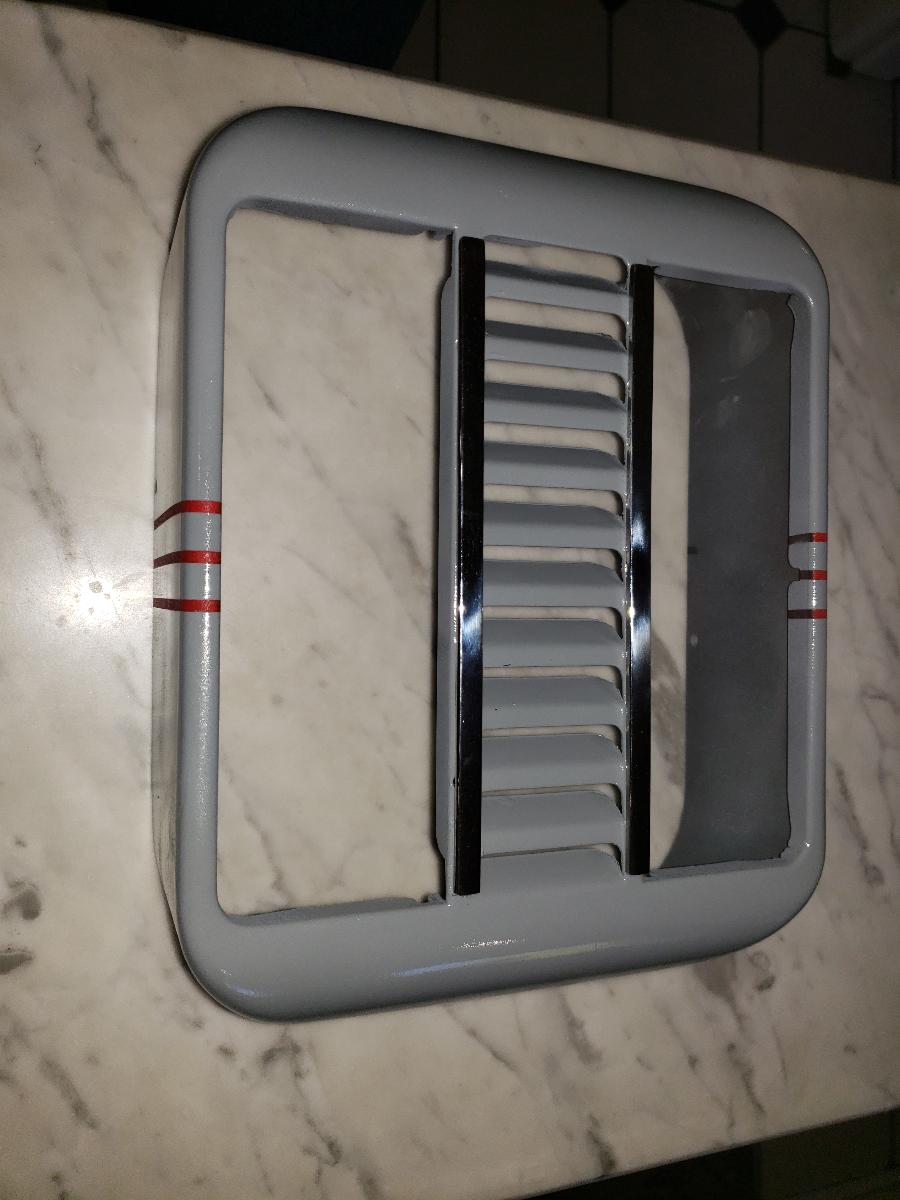
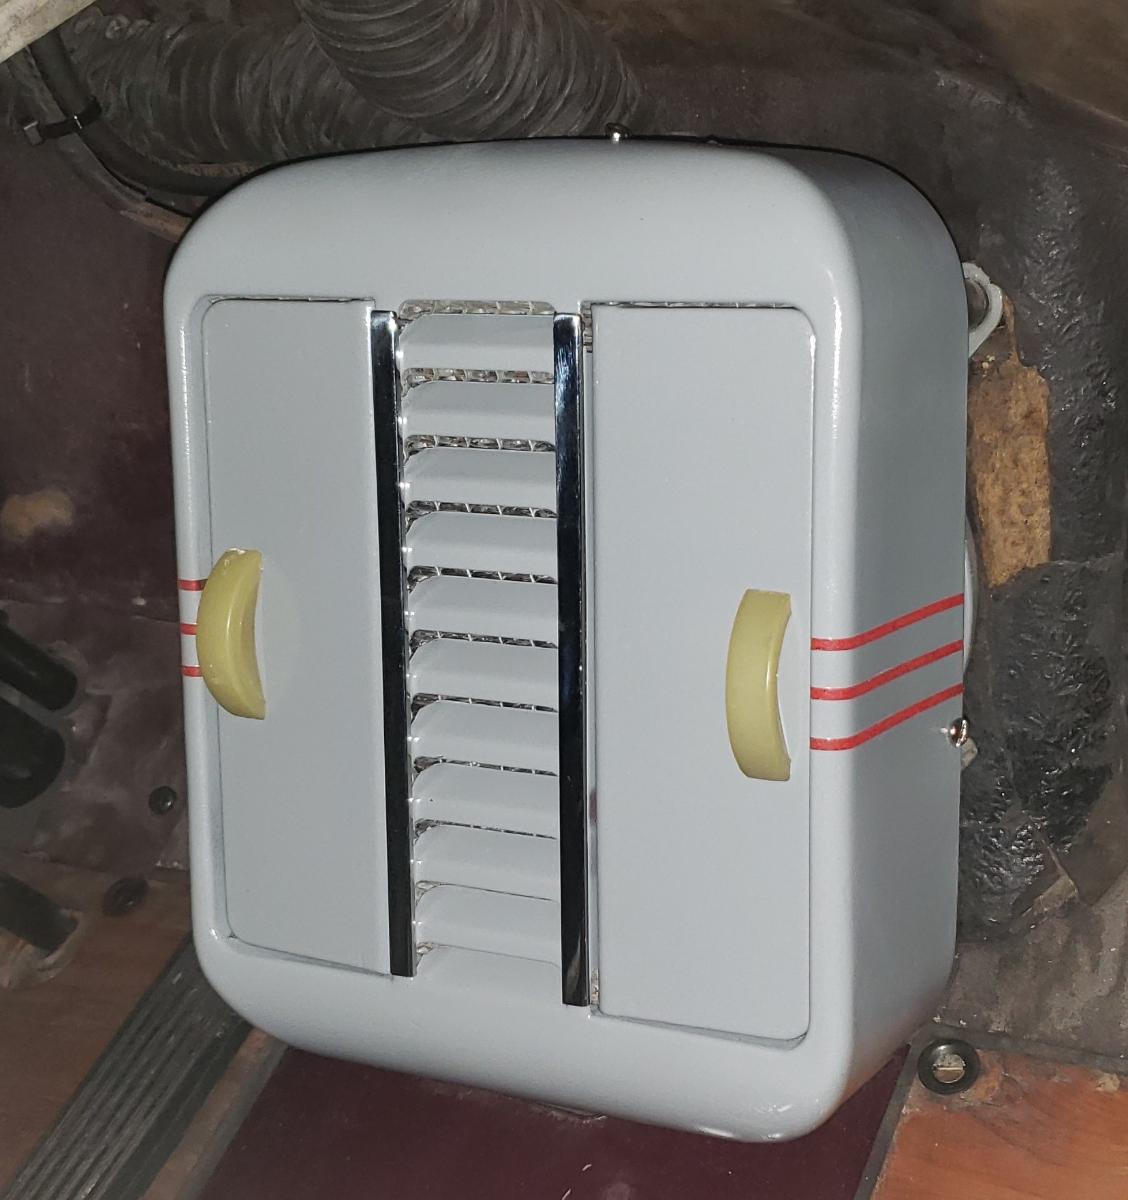
I didn't get as much done on the 40 Sedan as I wanted to today, but I did get the Heater Cover finished (with the red stripes).
I cheated a bit on the vertical bars. Several people posted suggestions regarding how to make them out of stainless steel (some of them brilliant), but I do not have the skills to pull that off and have it look acceptable. In the end, I used repro Glove Box chrome trim strips, cut down. I do know that they are not properly pointed at the top and bottom.
I will continue to look for the correct stainless steel strips, but I will not have to look at the empty holes in the front of the heater for the time being.
The doors will be painted tomorrow...
|
 RAK402
 |
 10-04-2022 @ 2:46 PM
|
|
|
|
Member
Posts: 430
Joined: Jul 2015
|
I am about done working on the car today. For once, I got more done than I planned (usually, I seem to get far less done than I planned).
I ran ground wires for the Heater, Instrument Cluster, Turn Indicator, and High Beam Lamp to a location under the dash. The High Beam Indicator had not worked since I replaced the socket and I suspected a bad ground (it is normally grounded to the panel through the Jewel) due to the very soft, thin metal of the repro socket (it was not tight against the bottom or the dashboard or in the Jewel).
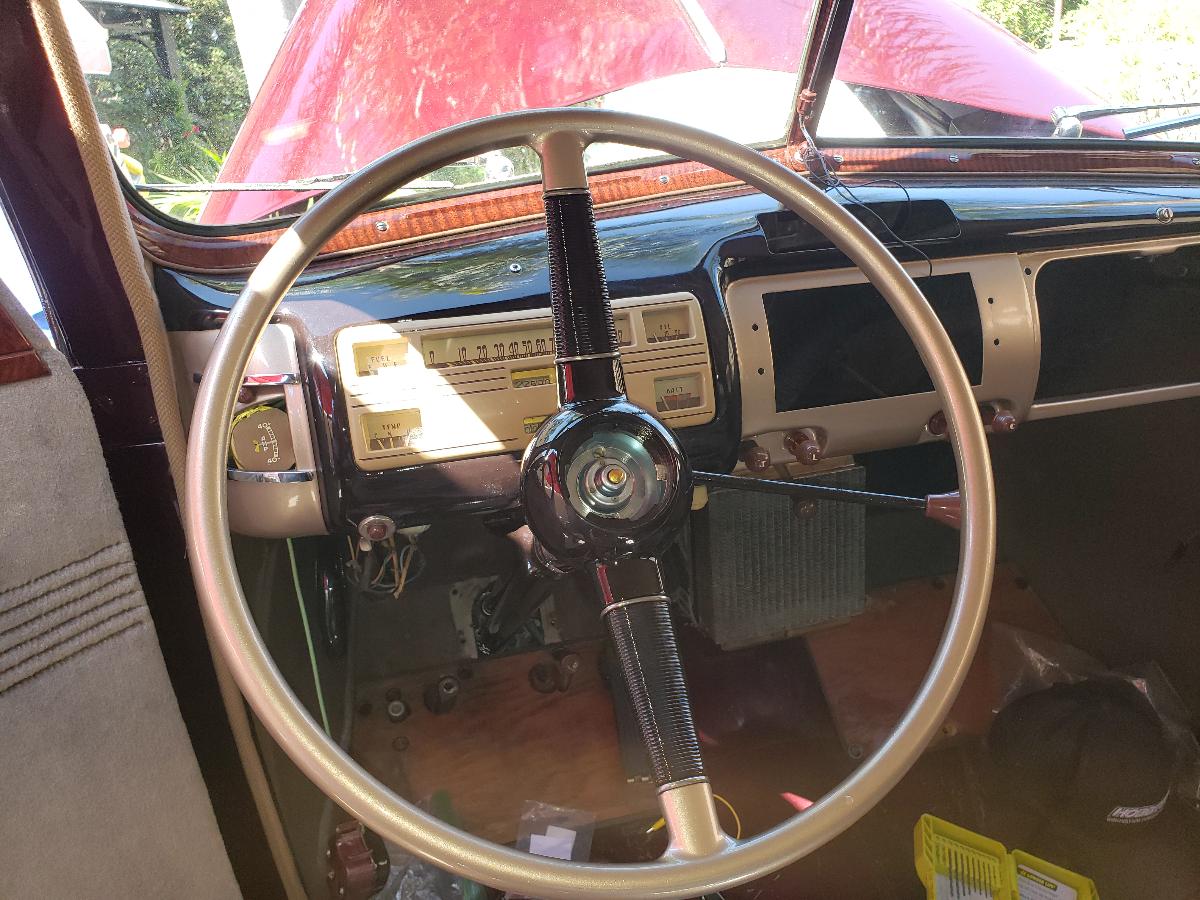
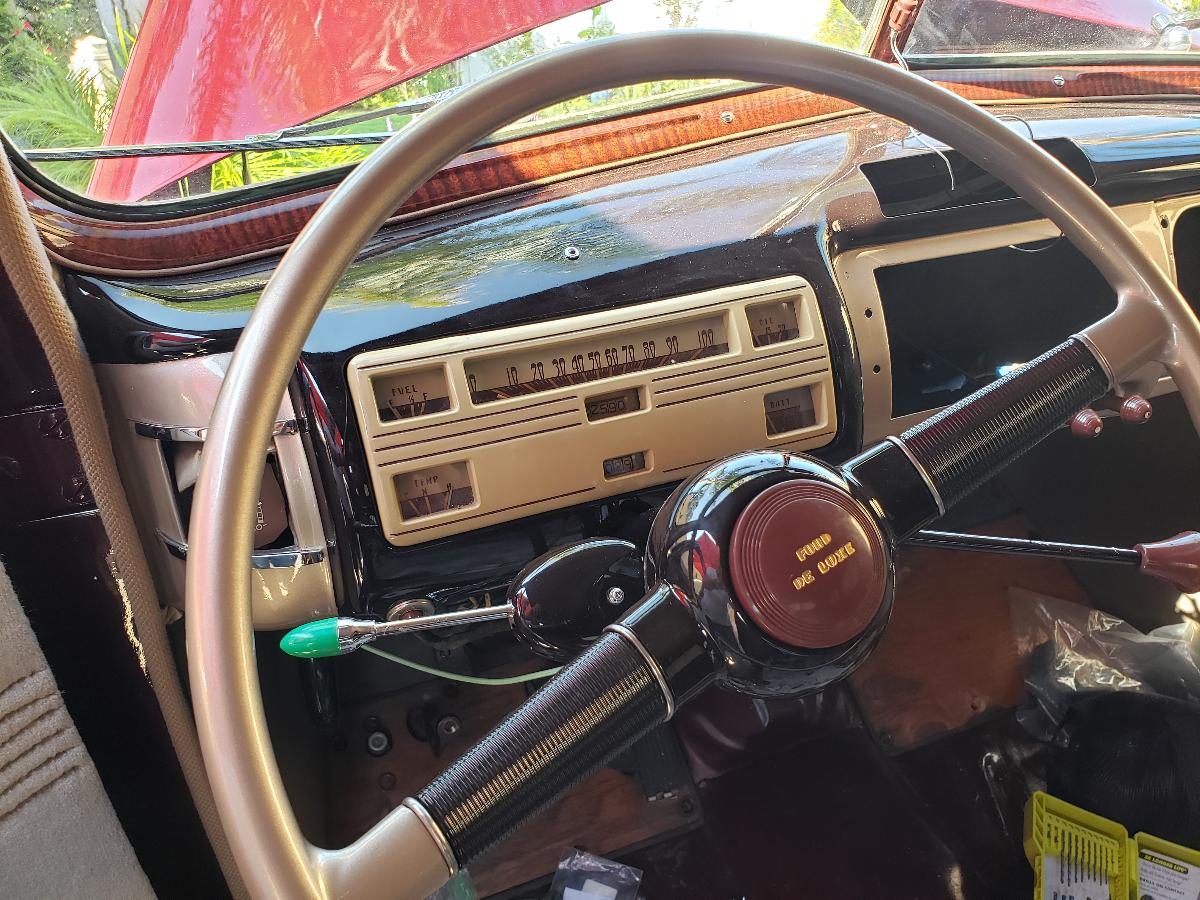
I got the repro Steering Wheel installed-it fit beautifully. Also installed the new Horn Wire and contact, and a new Horn Button.
The Steering Column is now tightened under the Dashboard and the Clamp which holds the base of the Column to the Steering Gearbox has been tightened. This was done last as I thought that I might have to slide the Column vertically on the shaft to make sure that the Coincidental Steering Wheel Lock engaged properly, but it wasn't an issue (showing my lack of knowledge here).
A new Seal has been installed at the base of the Steering Column, along with the plate which covers it.
Finally, I installed the Turn Indicator Switch on the Column.
This message was edited by RAK402 on 10-4-22 @ 2:59 PM
|
 RAK402
 |
 10-07-2022 @ 7:59 PM
|
|
|
|
Member
Posts: 430
Joined: Jul 2015
|
Got a little bit accomplished on the 1940 Ford Today...
The Heater Cover is now installed, after letting the paint dry for a few days.
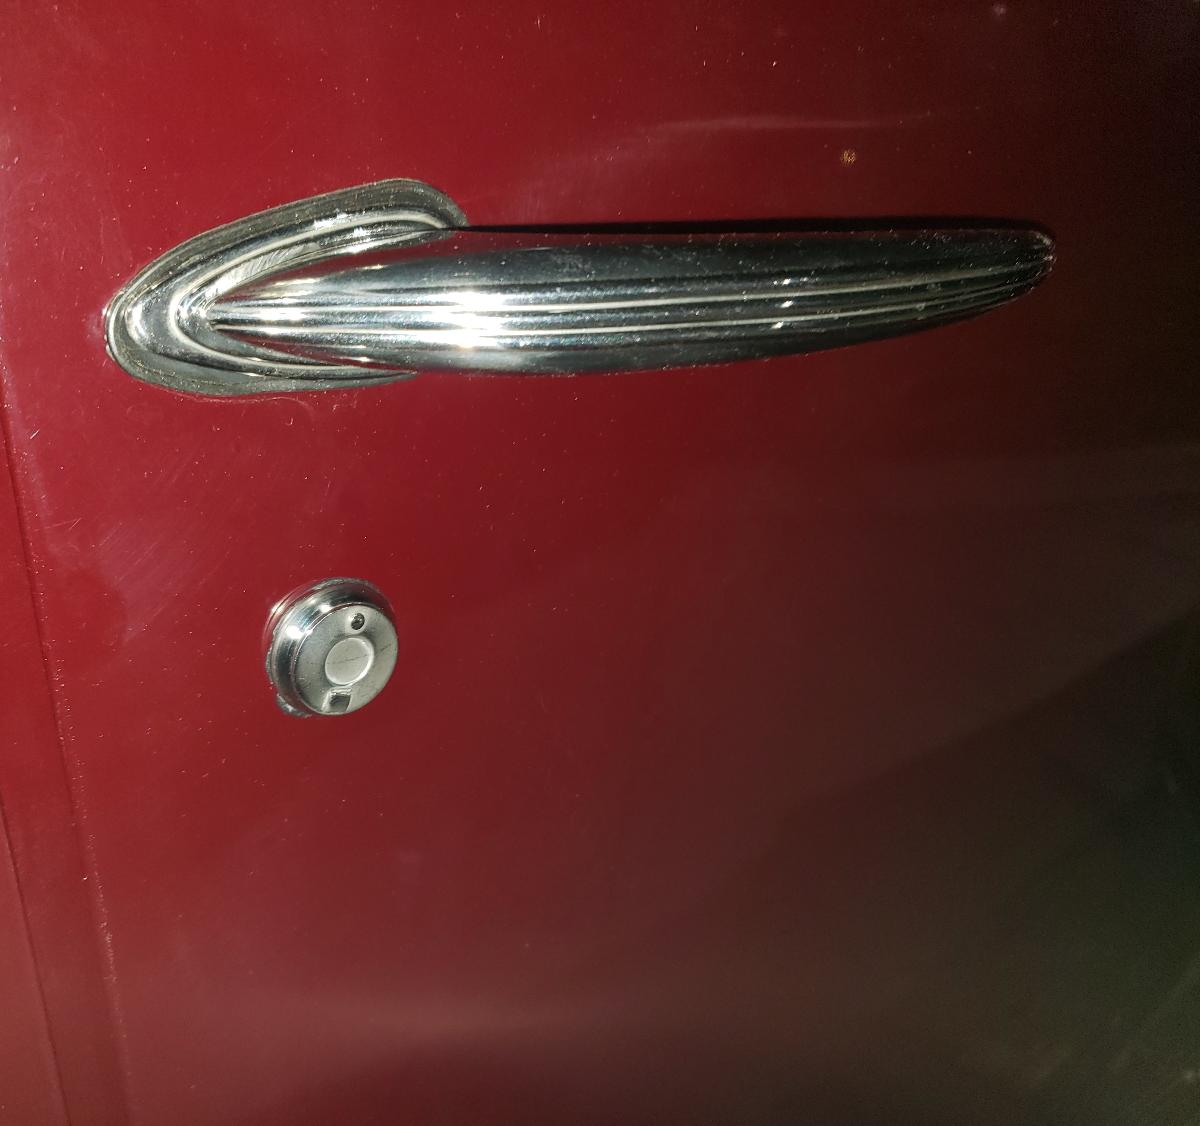
The Door Lock is now installed as well. This one took more time, effort, and $$ than it should have...
The spring loaded cover on the original door lock had a broken spring, so you couldn't swing it up and have it stay in place (took two hands to unlock the door). The lock was also sticky sometimes.
I had a spare original lock, which I took to a lock smith to have it re-keyed to match my original lock and ignition key-for some reason he couldn't quite do it. He made a slightly different key which did work in the lock and the ignition, but none of my existing keys would work with newly re-keyed lock.
I also had a new Bob Drake lock, but it had still different keys, so that wouldn't really work.
I ended up watching a bunch of YouTube videos on re-keying locks. I took the key pins from the original lock, put them in the Drake lock (in the correct order) and substituted some of the locking pins from the Drake lock in place of the original locking pins.
Now I have a door lock that works smoothly with my original keys and matches the ignition lock.
Even though it was necessary, I felt like I wasted a lot of time messing with the lock...
|
 RAK402
 |
 10-08-2022 @ 4:53 PM
|
|
|
|
Member
Posts: 430
Joined: Jul 2015
|
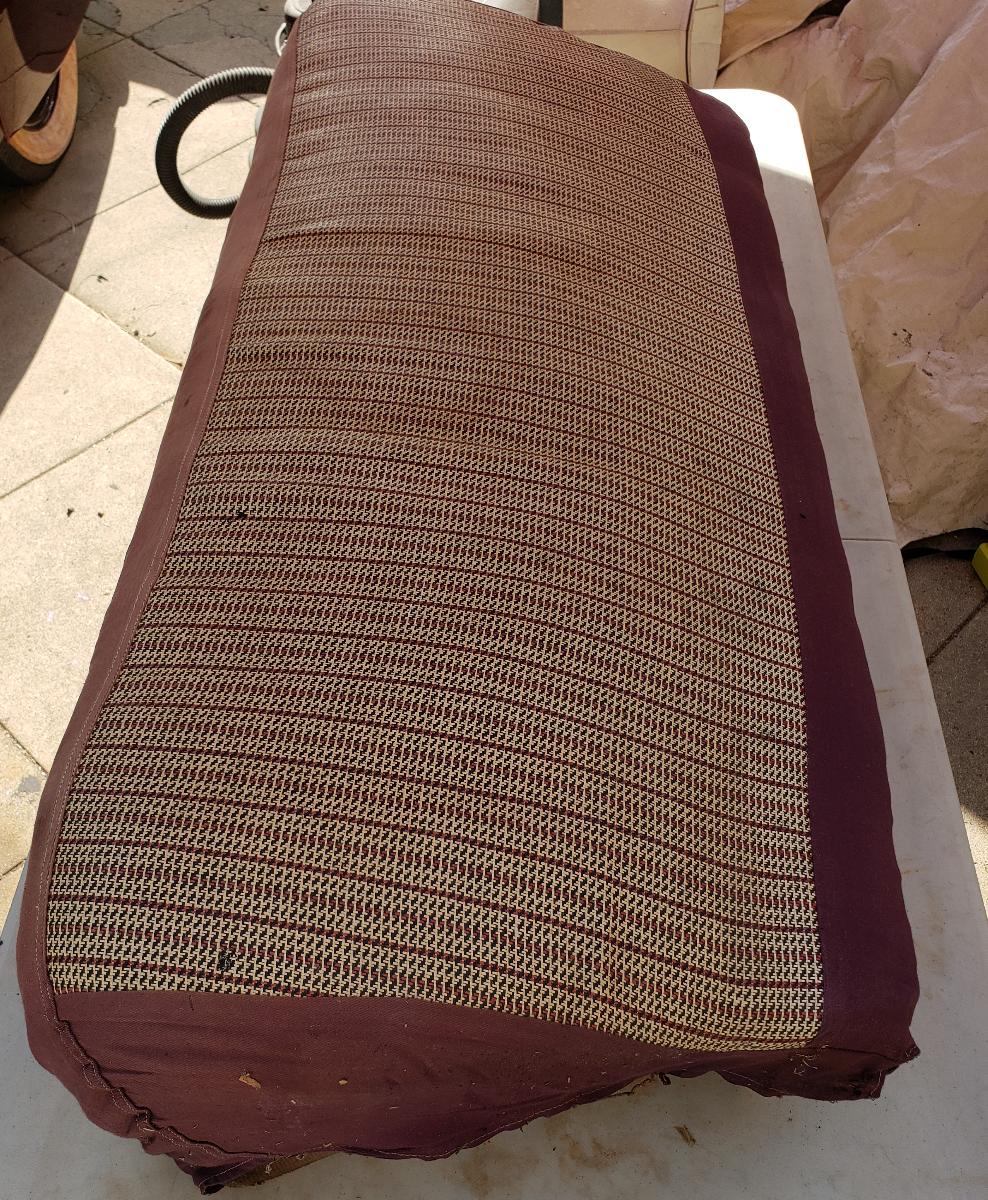
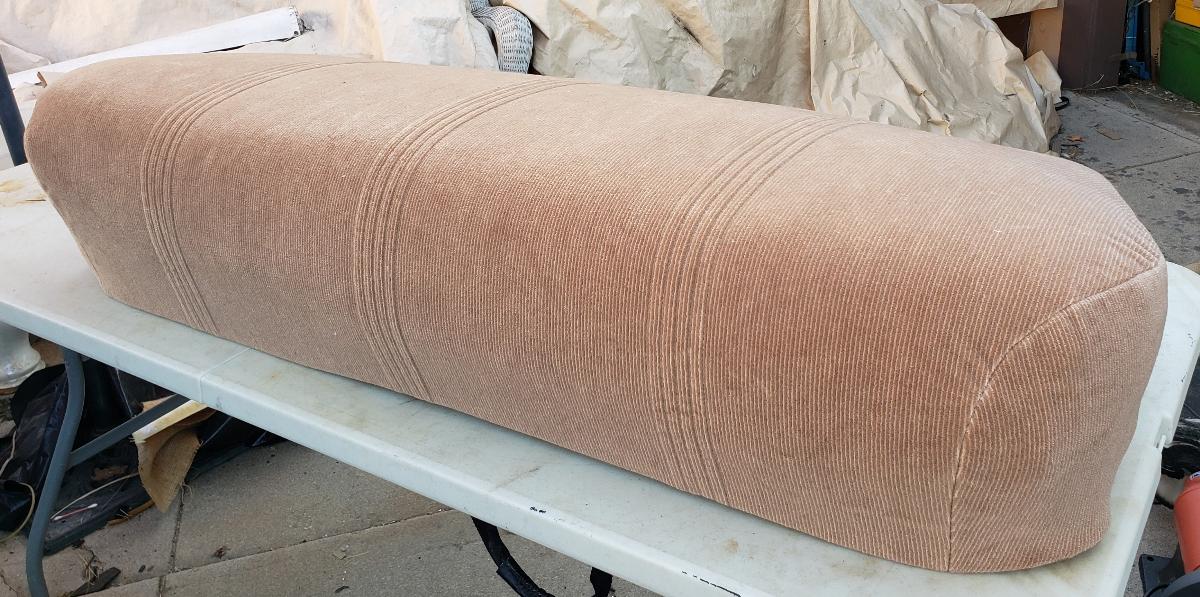
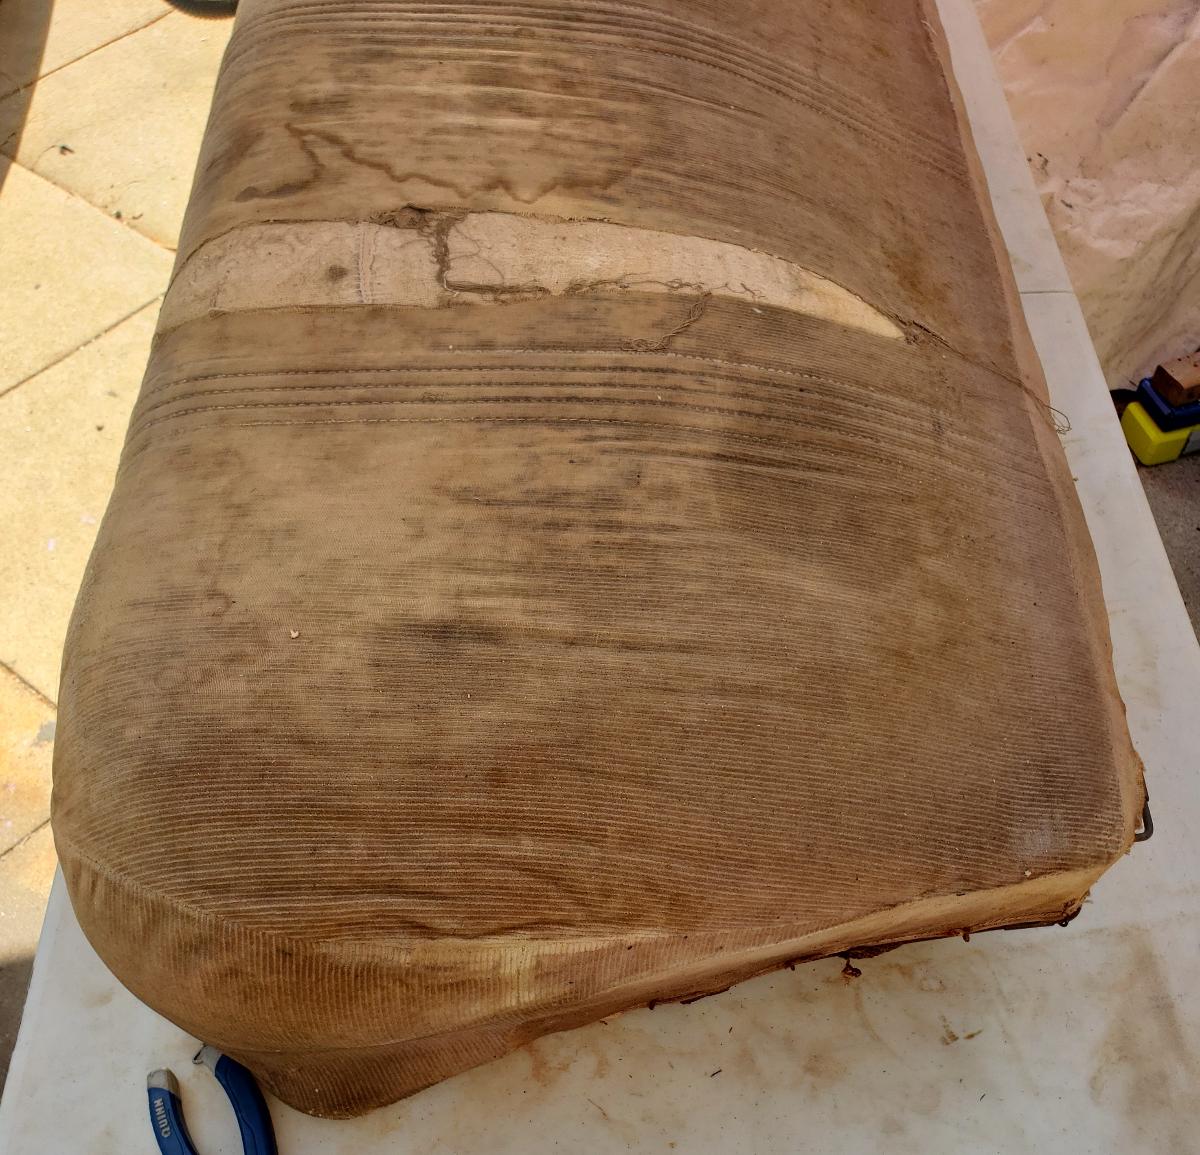
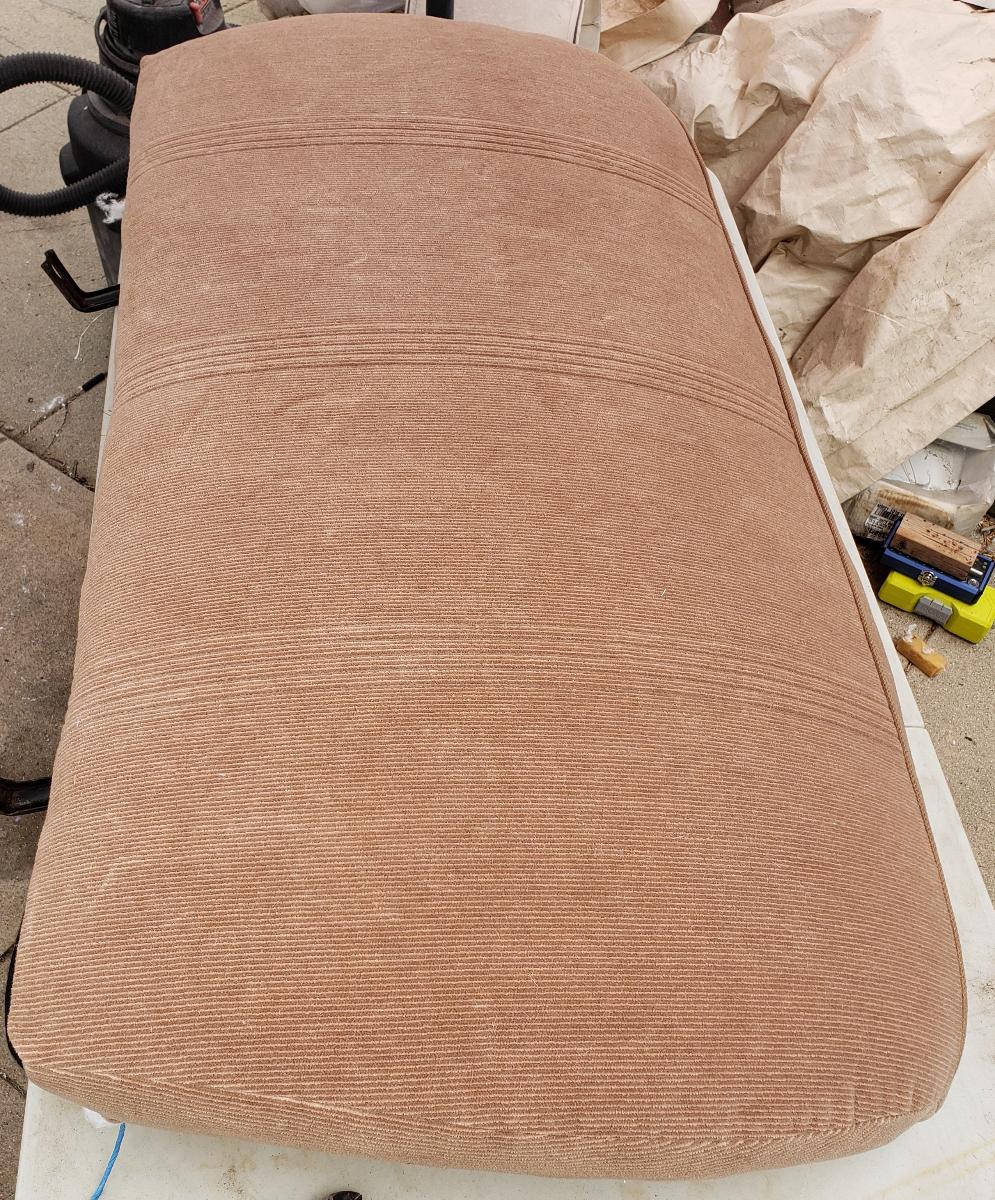
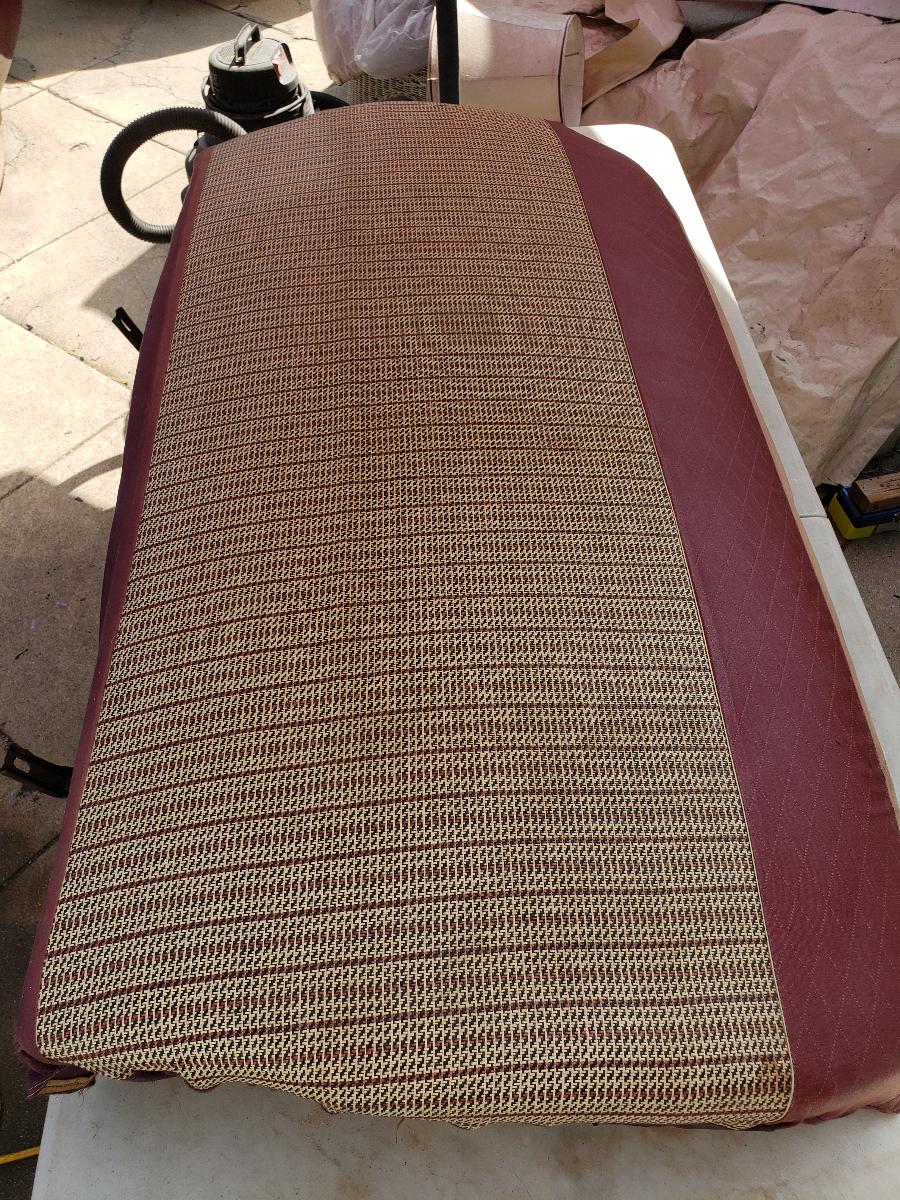
Spent the day learning to re-upholster the seats, starting with the Rear Seat Cushion...
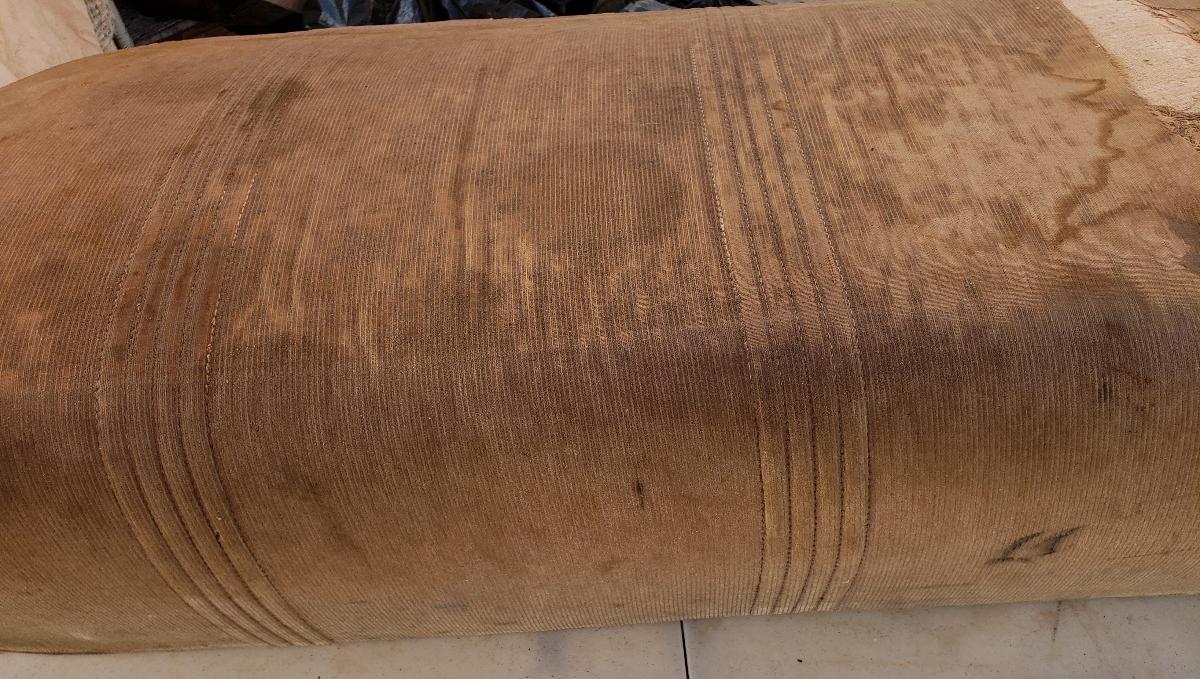
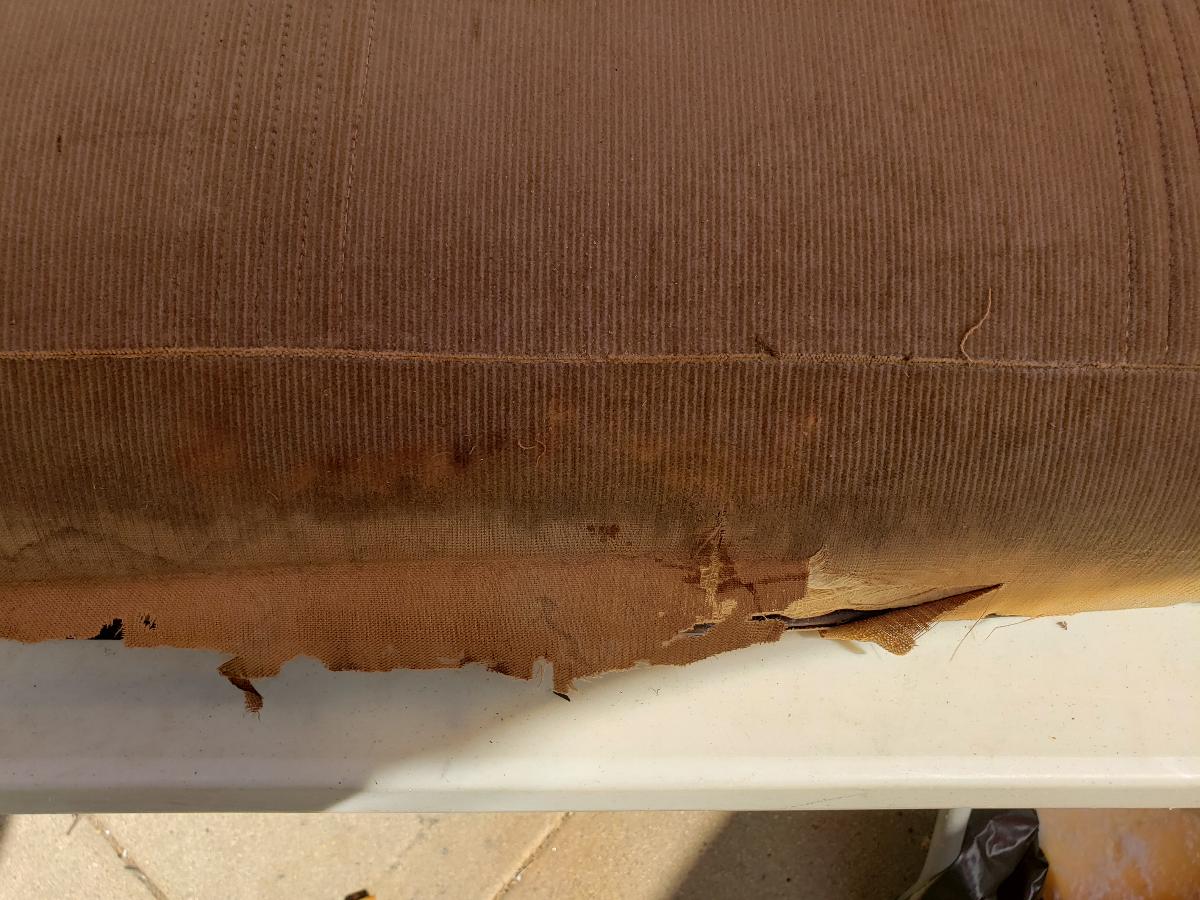
Took off the Seat Covers I put on, back when I was in college (late Pre-Cambrian or Early Mesozoic Period). Then took off the original Bedford Cord upholstery, the padding, etch.
Had to hog-ring a few stray springs but everything was in pretty good shape for its age.
20 year old LeBaron Bonney seat cushion upholstery went in pretty well. Big learning curve for me in doing this.
Still trying to work out a few puckers, but I am pretty close now.
One down, three to go...
|
 kubes40
 |
 10-09-2022 @ 10:39 AM
|
|
|
|
Senior
Posts: 3368
Joined: Oct 2009
|
I must give you well deserved credit!!!
Mike "Kube" Kubarth
|
 RAK402
 |
 10-09-2022 @ 5:08 PM
|
|
|
|
Member
Posts: 430
Joined: Jul 2015
|
Thank you sir-that means a very great deal to me.
Thank you for all of the assistance (as well as the vast amount of assistance in your book)!
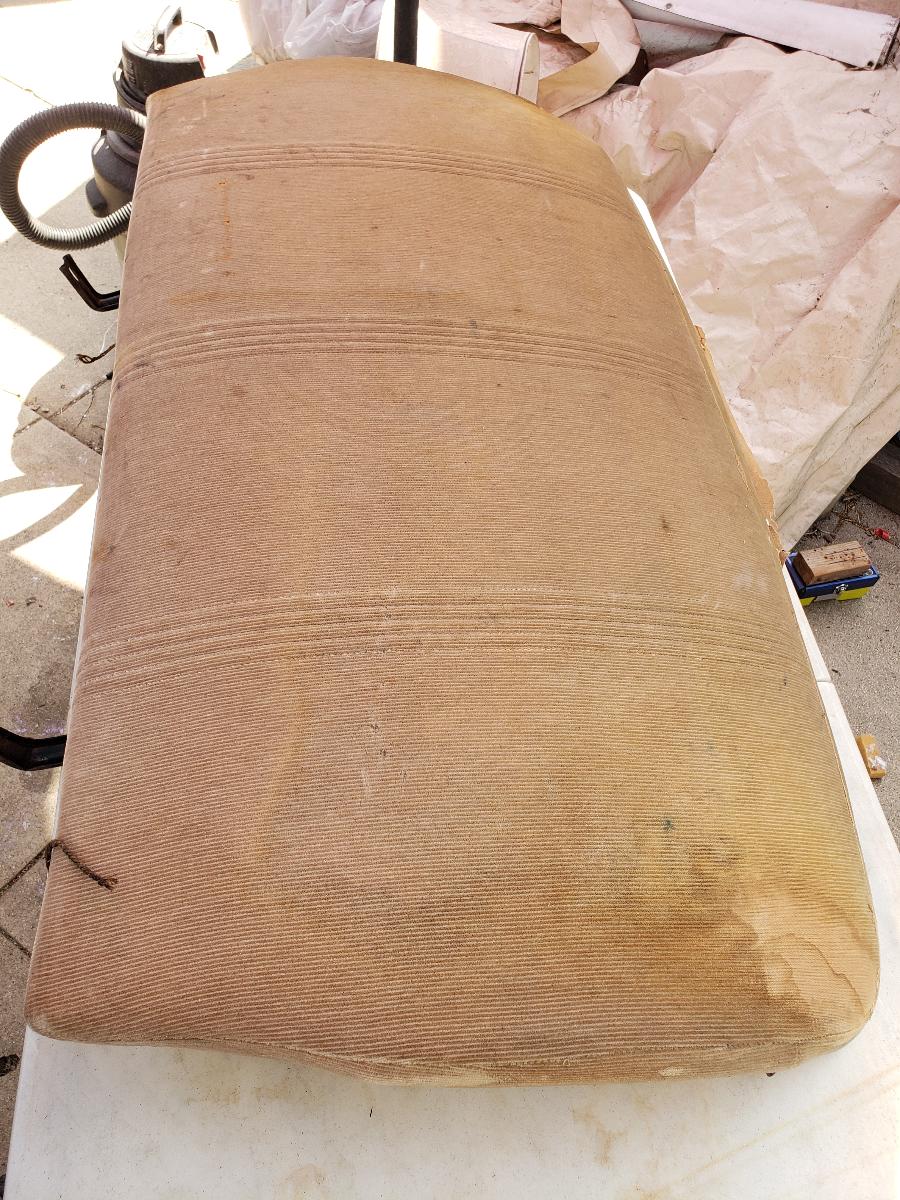
In between a bunch of other stuff I had to do today, I got the Rear Seat Backrest re-upholstered.
It's getting a little easier now. I should be very comfortable doing it after I get the front seat done (and never have to do it again...). ??
The Rear Seat Backrest before and after...
I kind of hate to through the Seat Covers away as my father bought them for me back in the 1970's-they served me well for several decades but they are shot. I am going to save a small scr*p of fabric from them.
The new fabric for the Package Shelf and the Side Pillars (between the doors) is supposed to arrive this Wednesday. I hope to get the Shelf and the Rear Seat installed this week.
If I am very lucky, I will be able to install the Side Pillar covers and also install the Courtesy Lamps and Switch.
This message was edited by RAK402 on 10-9-22 @ 5:11 PM
|
 kubes40
 |
 10-10-2022 @ 6:35 AM
|
|
|
|
Senior
Posts: 3368
Joined: Oct 2009
|
You're doing a very nice job. I'm willing to bet your sense of accomplishment is quite rewarding.
Mike "Kube" Kubarth
|
 trjford8
 |
 10-10-2022 @ 7:31 AM
|
|
|
|
Senior
Posts: 4202
Joined: Oct 2009
|
Kudos to all the great work you are doing to your '40. You should have a great sense of accomplishment. The real fun part is when you can drive your '40 to it's first V-8 National Meet.
|
 RAK402
 |
 10-11-2022 @ 10:25 AM
|
|
|
|
Member
Posts: 430
Joined: Jul 2015
|
trjford8 and kubes40,
Thank you both for the words of encouragement.
They are greatly appreciated and help me to continue moving forward.
|


 Reply to Discussion


 RAK402