| Posted By |
Discussion Topic:
The Exterior Paint Work is Almost Done...
-- page:
1
2
3
4
5
6
7
8
9
|


|
 kubes40
 |
 09-04-2022 @ 6:25 PM
|
|
|
|
Senior
Posts: 3366
Joined: Oct 2009
|
40cab,
Kindly, I'd suggest you start a new thread with the issue you are having. This thread is pretty much devoted to the sedan restoration.
I'll help you with your trunk lid fit. Perhaps photos of the upper corners?
It appears to be on a convertible. Correct?
Mike "Kube" Kubarth
|
 RAK402
 |
 09-06-2022 @ 10:08 AM
|
|
|
|
Member
Posts: 430
Joined: Jul 2015
|
Thank you Mike-I could not possibly have answered his question anyway.
Back to the headliner this morning, but I wanted to check something before I went any further...
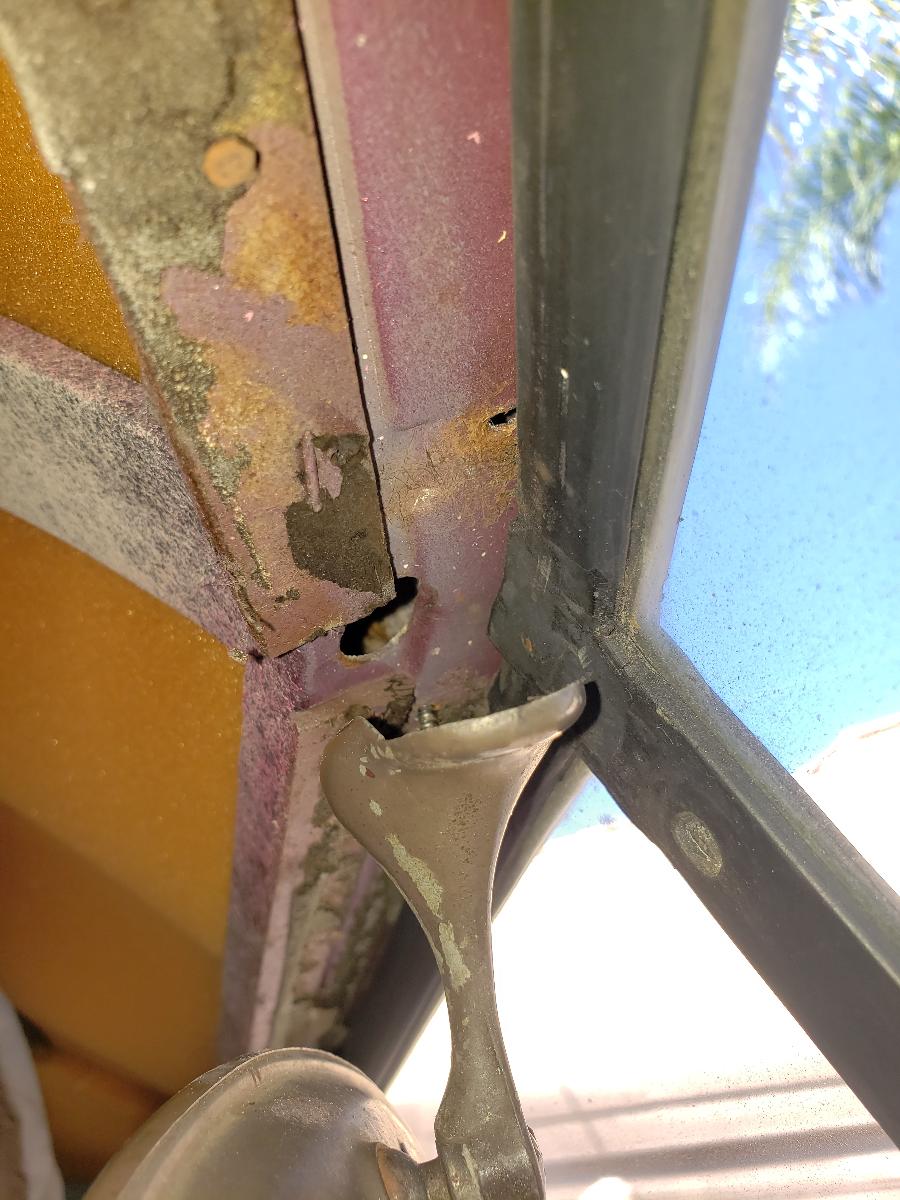
There has always been a problem with the Rear View Mirror-it was easy to install the left mounting screw, but I could never get the right screw installed. I thought it would be a good idea to make sure I knew where the hole was for the right one before I started tacking the headliner at the front.
There was a good reason why I could never get the screw in the hole-there was no hole in the slightly depressed area in the window frame (as there was on the left side). There is a hole, but no where near in the right place. The mirror bracket was used as a template for where to put the new hole.
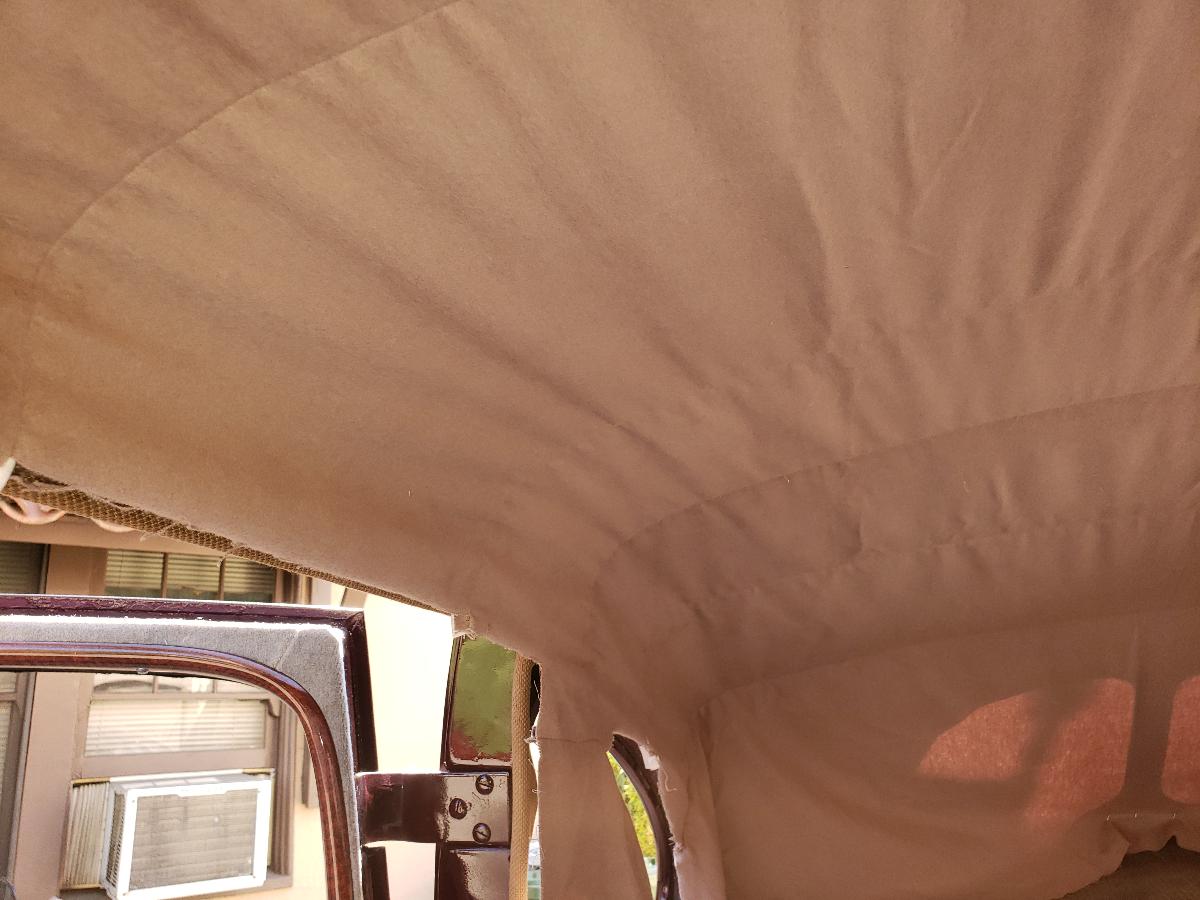
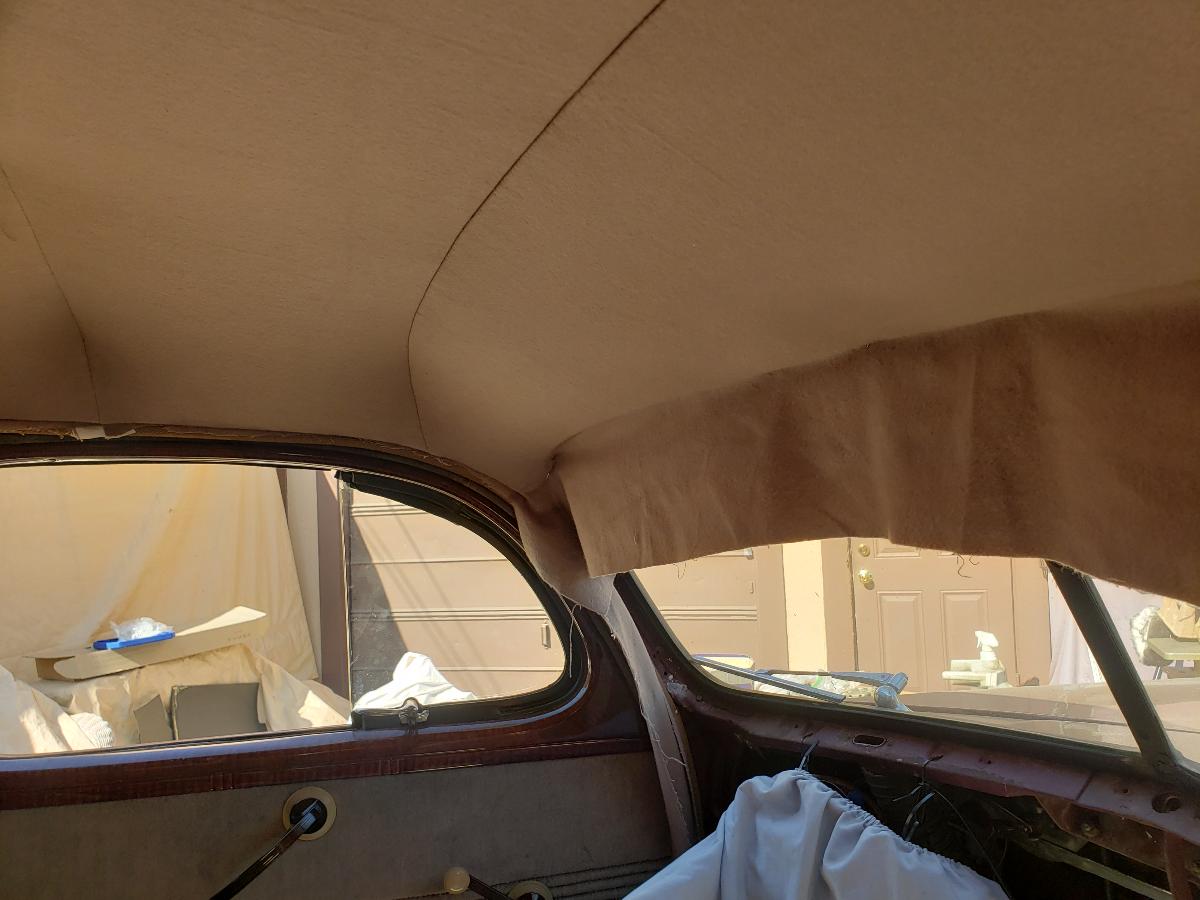
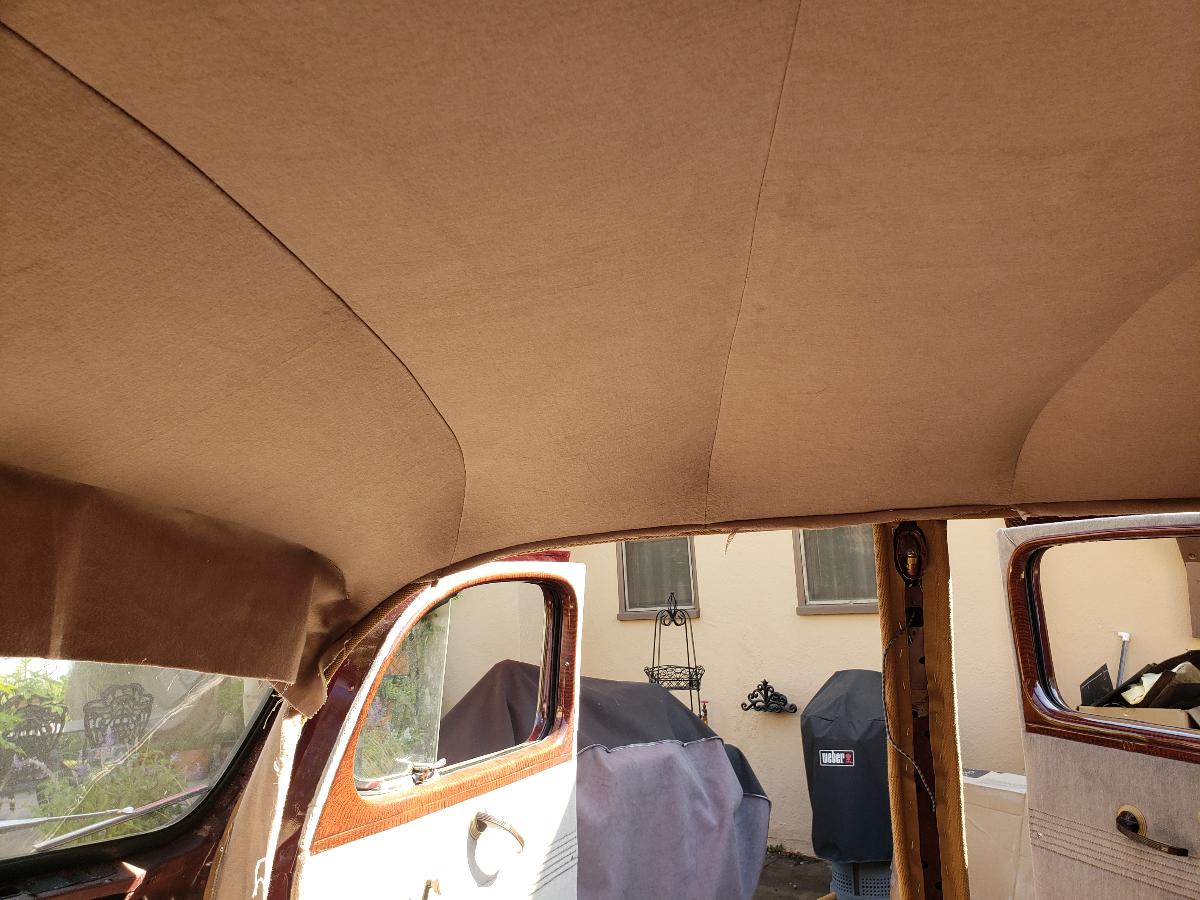
I spent the rest of the morning with the headliner. Making sure it is centered, putting the initial tacks (actually, I am using staples) in the extreme back, trimming the listing on the back so that it can be pulled down far enough, etc.
More tacking and pulling tomorrow-long way to go to get in smooth and tight...
|
 RAK402
 |
 09-08-2022 @ 7:25 PM
|
|
|
|
Member
Posts: 430
Joined: Jul 2015
|
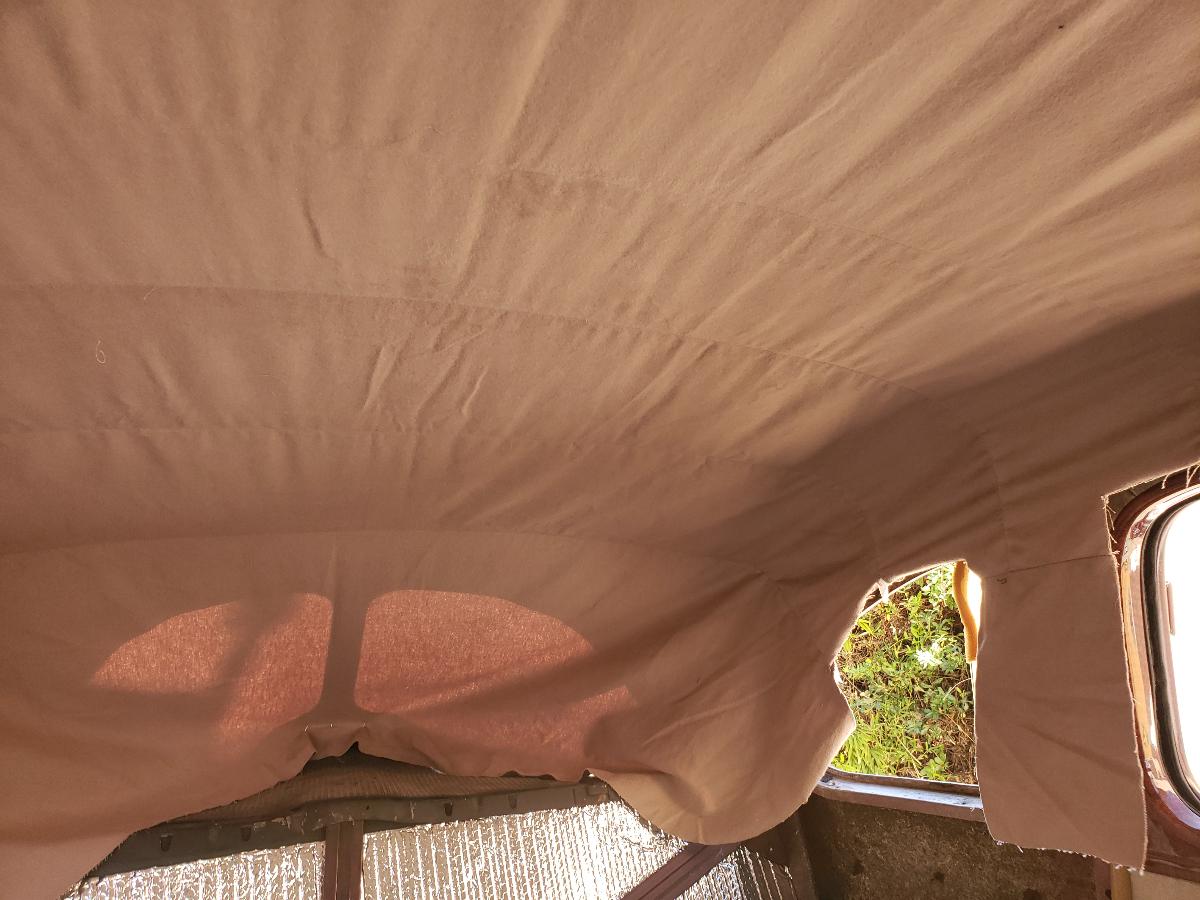
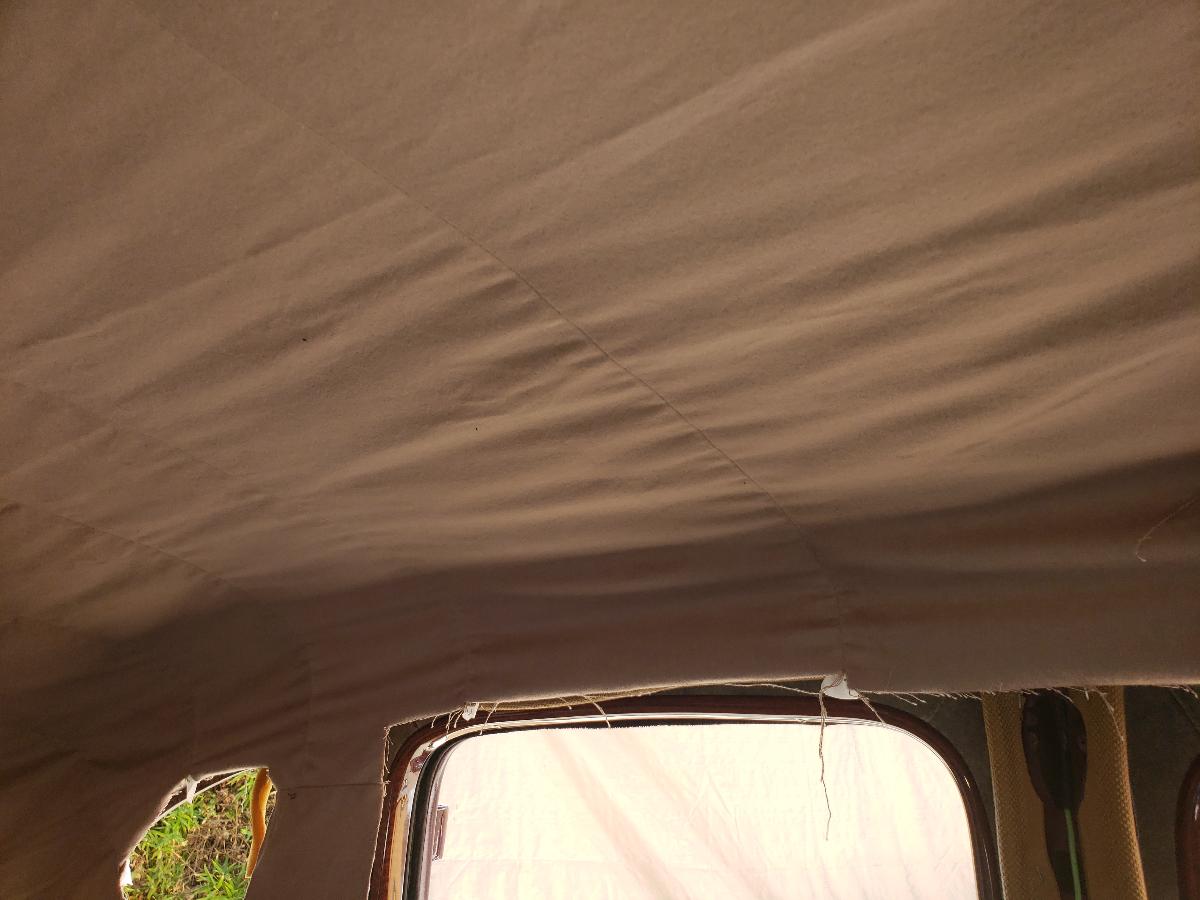
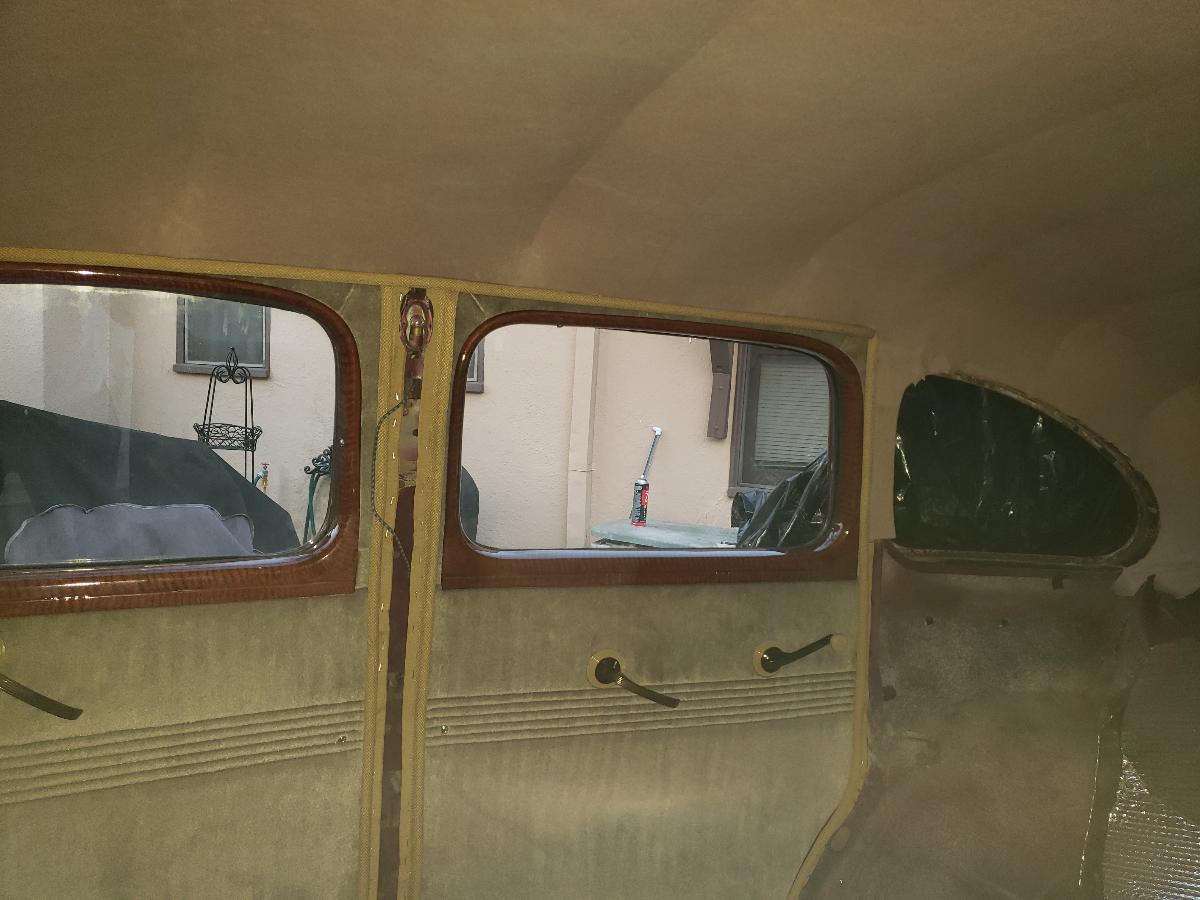
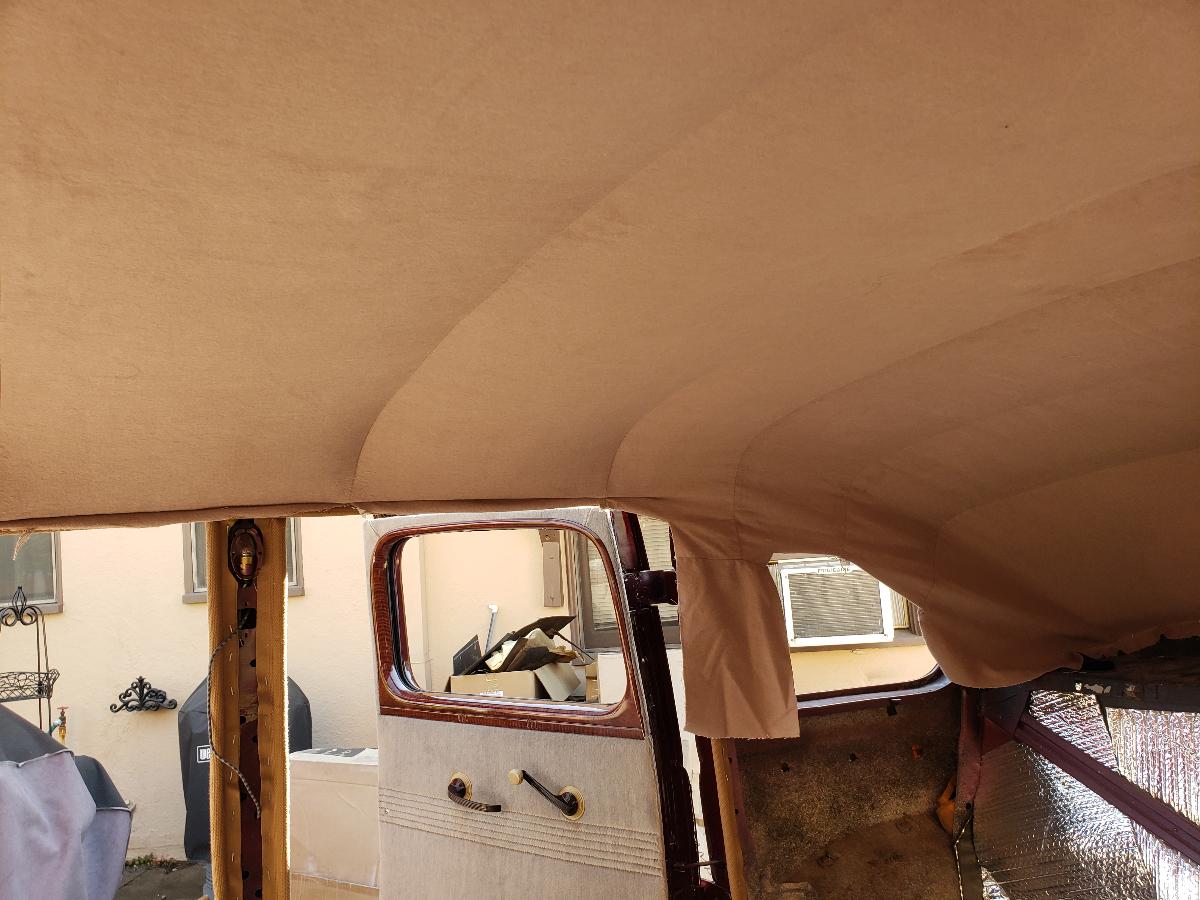
I have been working on the headliner for almost a week at this point...
Now having to dodge rain (which we need, but the timing is bad as the car is outside and has no rear quarter window in it yet-I have to seal it up with plastic every night.).
I am going very slowly with it. Stapling, pulling, tucking and gluing. There will be a lot of trimming around the edges as well.
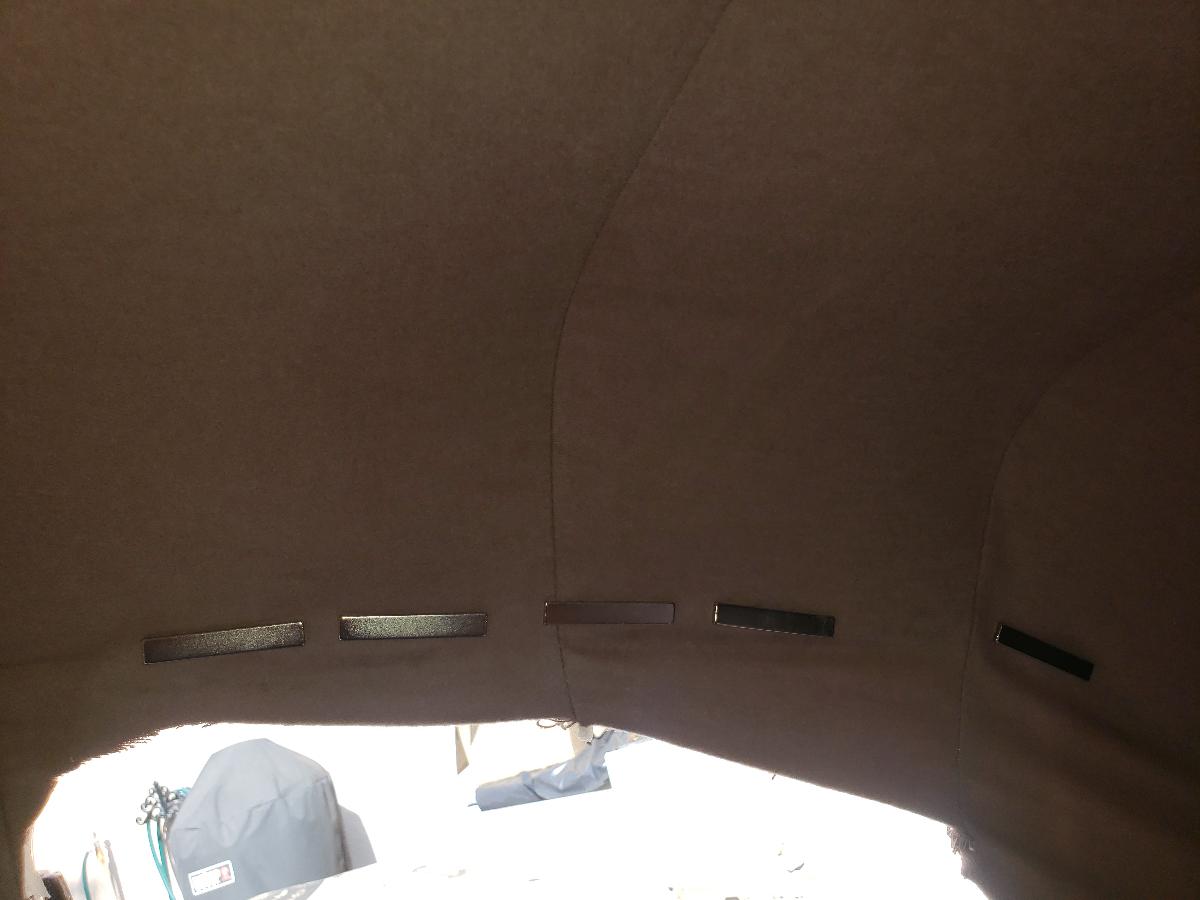
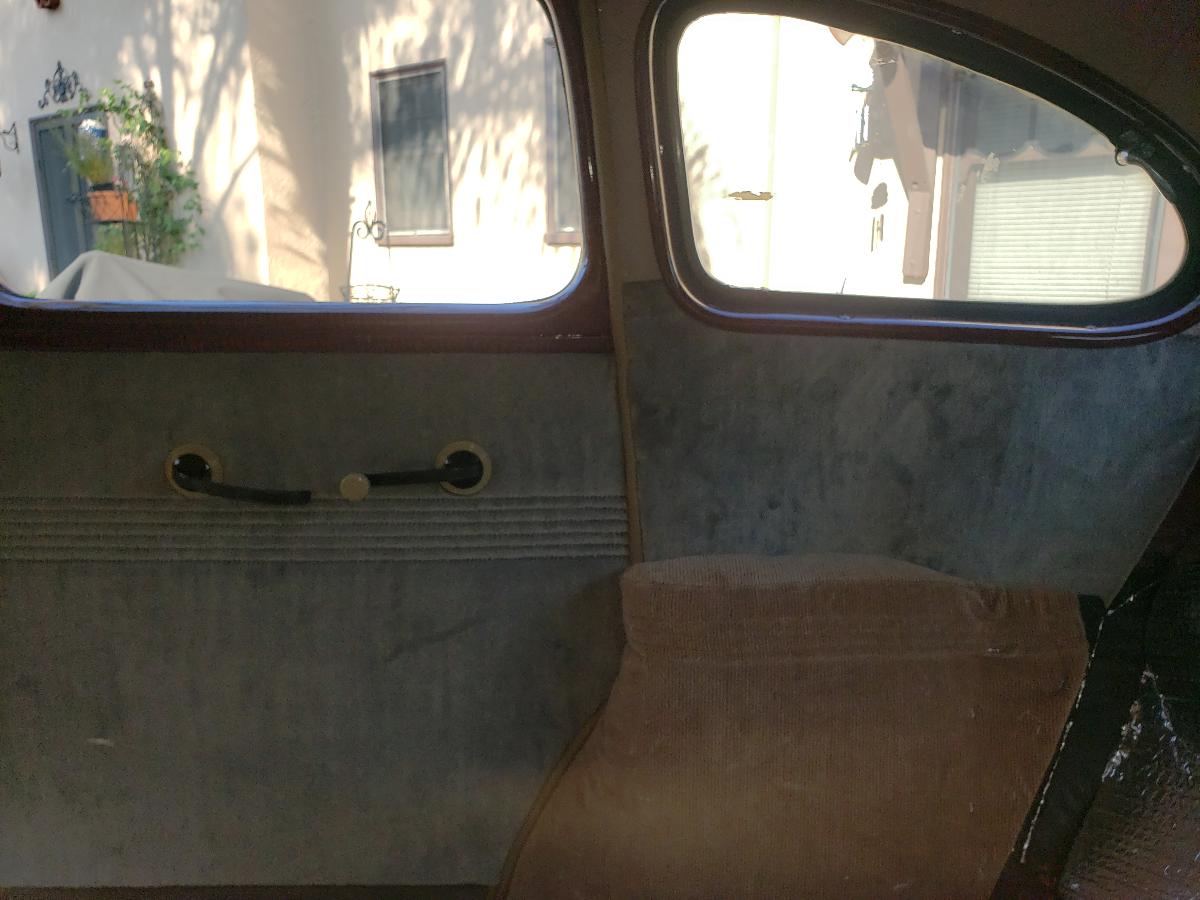
The right rear quarter window area is almost done (the rectangular objects in the photo are rare earth magnets to hold it in place until I was sure the contact cement really stuck). There is a bit more fabric to be trimmed above that window, but otherwise it should be finished tomorrow.
I started working on the left rear one also, and worked on the back windows a bit too.
I hope to wrap this up in a few more days.
I have to go back to the armrests and the panels above them next.
|
 kubes40
 |
 09-09-2022 @ 3:33 PM
|
|
|
|
Senior
Posts: 3366
Joined: Oct 2009
|
It appears as if you are doing a nice job. These liners have always been a source of nerve racking for me as there is NO room for mistakes.
Mike "Kube" Kubarth
|
 RAK402
 |
 09-13-2022 @ 5:57 PM
|
|
|
|
Member
Posts: 430
Joined: Jul 2015
|
From yesterday and today...
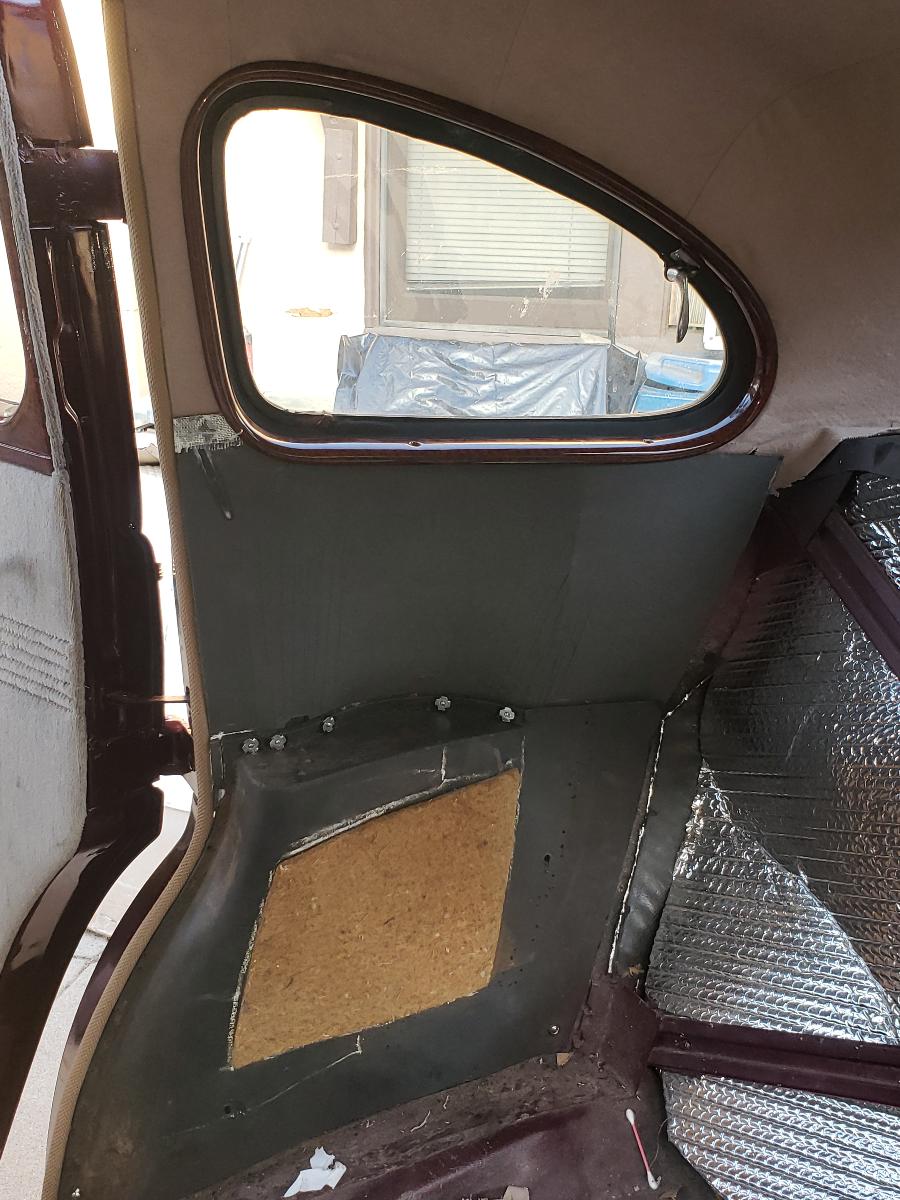
Test fitting the panel that goes above the armrest on the 1940 Ford Fordor Sedan.
I had to make these as the originals were literally crumbling. I used the two originals to make a pattern (there was enough of both there to make one-barely), the used an old Dremel Jig Saw to cut them out.
I formed the first one with hot terrycloth rags (steamed in the microwave oven). That worked ok (I may try a steamer for the second one).
The old arm rest was in pretty good shape, but was unable to staple the new panel to it properly. I soaked the edges in thin CA to stiffen them (which helped). I ended up using screws and blind nuts to hold the panel to the armrest-not as stock as I would like, but more permanent.
The test fitting went well, so out it came again and the fabric was attached.
Then the panel and armrest were re-assembled and installed in the car.
The right, rear quarter window is now permanently installed (with the correct screws).
Note: The wrinkles in the armrest covering will be behind the seat back when the seat is installed (they still bother me though). The original fabric on the armrest did not come back this far.
I now have to repeat the process for the other side. Once that is done, all of the windows will be in and the car will be able to be closed up (except for the antenna hole in the roof).
|
 RAK402
 |
 09-16-2022 @ 12:49 PM
|
|
|
|
Member
Posts: 430
Joined: Jul 2015
|
From yesterday and today on the 1940 Ford...
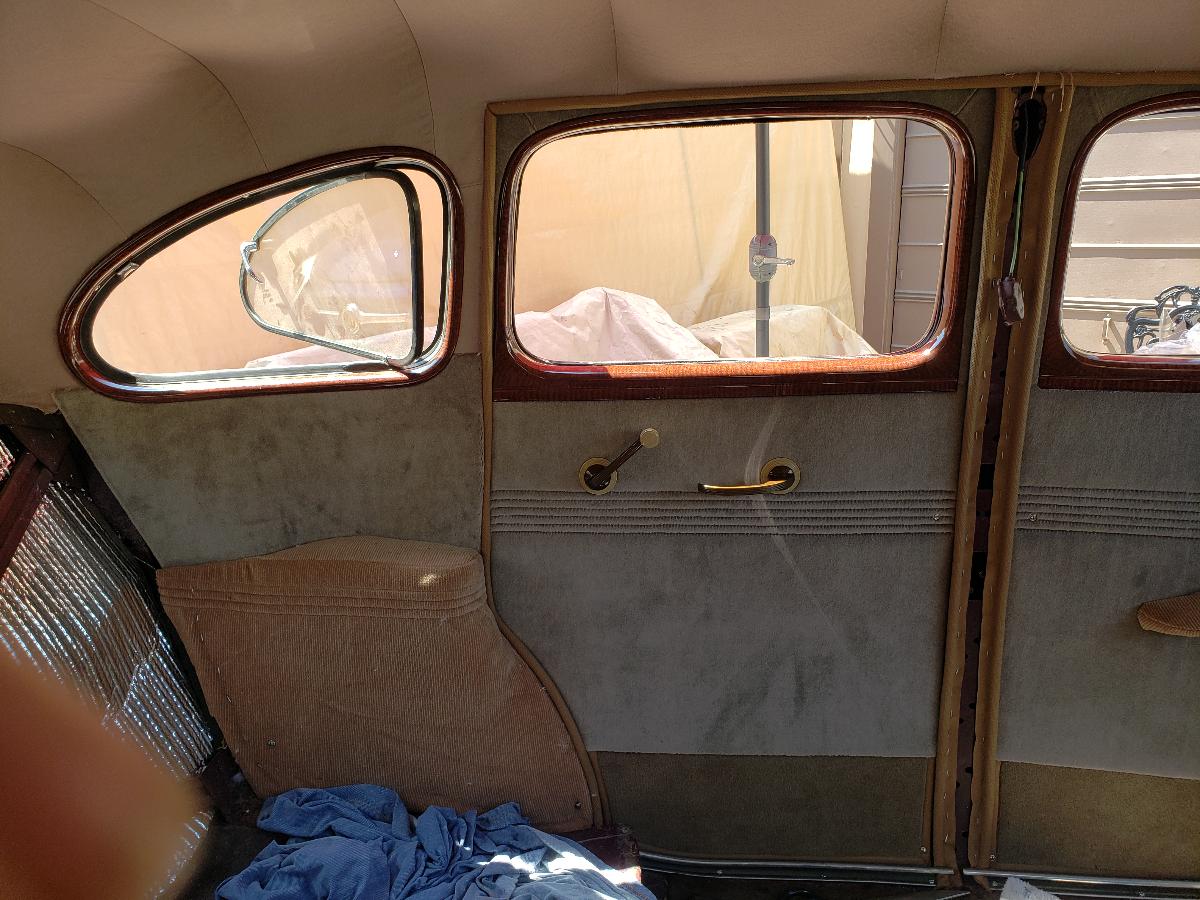
Got the left rear panel above the arm rest and the armrest covered, assembled and installed.
Left rear quarter window is now installed.
Also go the repro left door sills and lower door seals (front and back) installed and the windlace terminiated correctly at the bottom for the first time since I have owned the car. Thank you to Mike Kubarth and 1940 Tom for explaining how this should be done and providing photographs.
I am a complete amateur at this and would never have gotten anywhere near this far in the process without their help and the help/advice of the people on this forum.
Once the right side sills and seals are done, I will seal the rubber around the quarter windows, and with the exception of the antenna hole, the car can be closed up properly in the event it rains (again).
I have been playing beat the clock (actually calendar) to get it closed up to the elements as it cannot be moved yet (no steering column, steering wheel or instrument panel installed yet).
This message was edited by RAK402 on 9-16-22 @ 1:27 PM
|
 1940 Tom
 |
 09-17-2022 @ 7:40 AM
|
|
|
|
Member
Posts: 235
Joined: Oct 2009
|
You are most welcome, sir!
I've been following your thread - LOTS of hard work here. The car looks real nice.
Glad I could help, in some small way.
Have a nice weekend.
Tom
|
 Soundguy2000
 |
 09-17-2022 @ 2:31 PM
|
|
|
|
Member
Posts: 21
Joined: Sep 2022
|
Great looking car!!! It will be worth all of your time and
effort.
|
 RAK402
 |
 09-20-2022 @ 9:15 AM
|
|
|
|
Member
Posts: 430
Joined: Jul 2015
|
Thank you both!
|
 RAK402
 |
 09-20-2022 @ 11:20 AM
|
|
|
|
Member
Posts: 430
Joined: Jul 2015
|
Pausing with the upholstery in the 1940 Ford Sedan while waiting for new materials to replace some that did not survive 20 years in storage.
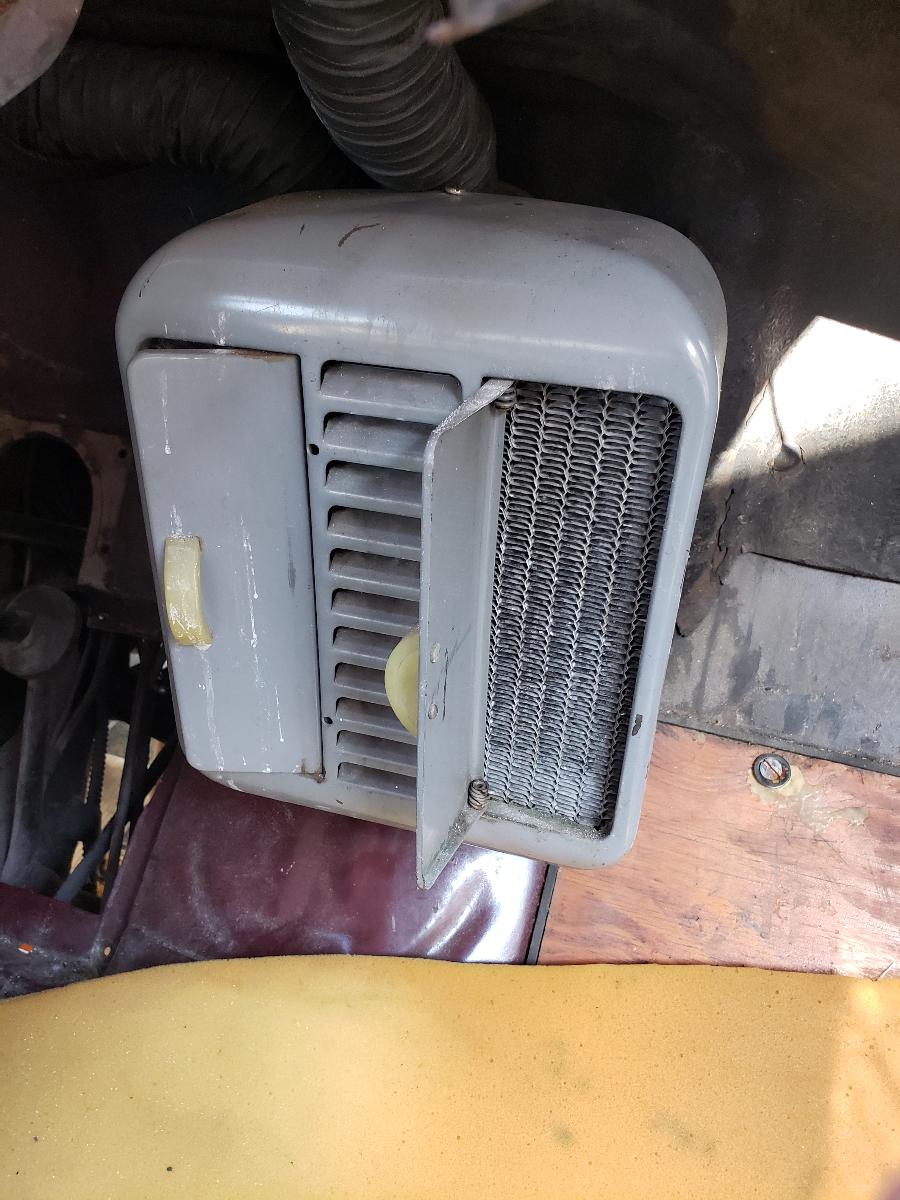
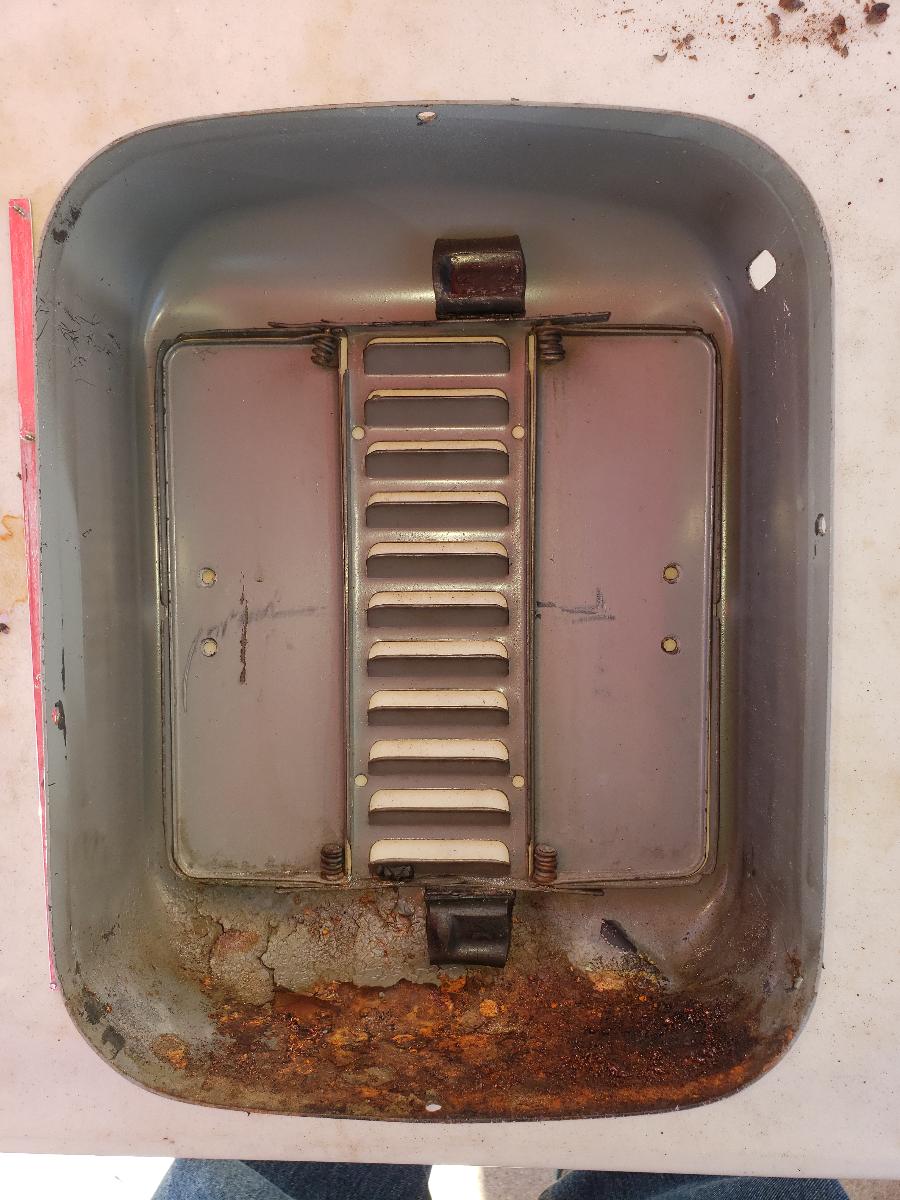
It made sense to take the cover off of the Hot Water Heater and repaint it now while the dash board is still out.
There is a lot of rust to remove from the inside (from a core leak that was repaired years ago), then it will be re-painted in gray, and the three red stripes added to each side.
I have never been able to find the Stainless Steel Trim pieces for the front of it, so I will have to figure something out for that. The previous owner (prior to my acquiring the car in 1975) removed all of the chrome trim from the dash and the stainless trim from the heater. He then painted the dashboard black (apparently with a broom).
|


 Reply to Discussion


 kubes40